Reflection part 6: Where are the kids? #whatsthestory #magicmoments #mammarazzi

Continuing my series of looking at some of my favourite images from the last year. You can see some of my other posts by following the link ‘ishoot’ in the menu bar. They are all in there! 🙂

So this week i thought i would look at that elusive model..nope not the toddler but the teen!! *gasp*

Yes i do occasionally get asked to photograph older kids, young adults. Generally they are as part of family group! But they aren’t toddlers and they are certainly not kids..and would never want to be considered one of the old adults. I do really enjoy working with this sort of age though, they really stretch me and i have to put some thought into how to make them feel at ease and relax into the shoot. Some of my favourite images have come about from having a older kid in the family. They are particularly good at getting younger kids to do as you are asking them.

Here are a selection of some of my favourites and some of my ideas about how I got there:

This shoot was for two teenage sisters and we were in a large warehouse type building. I have found that walls are great for teens. Often they are a bit at a loss with what to do with themselves, what to do with their hands, etc. If you give them something to lean against. In this shot she was standing under a hole in the ceiling that was letting some sunlight in! Which was so ideal for the shot as it threw light in such a directional quality that we just had to use it! We got her to stand in the light and put some HUGE shades on and look up to it like a movie star. I love the texture of this shot!
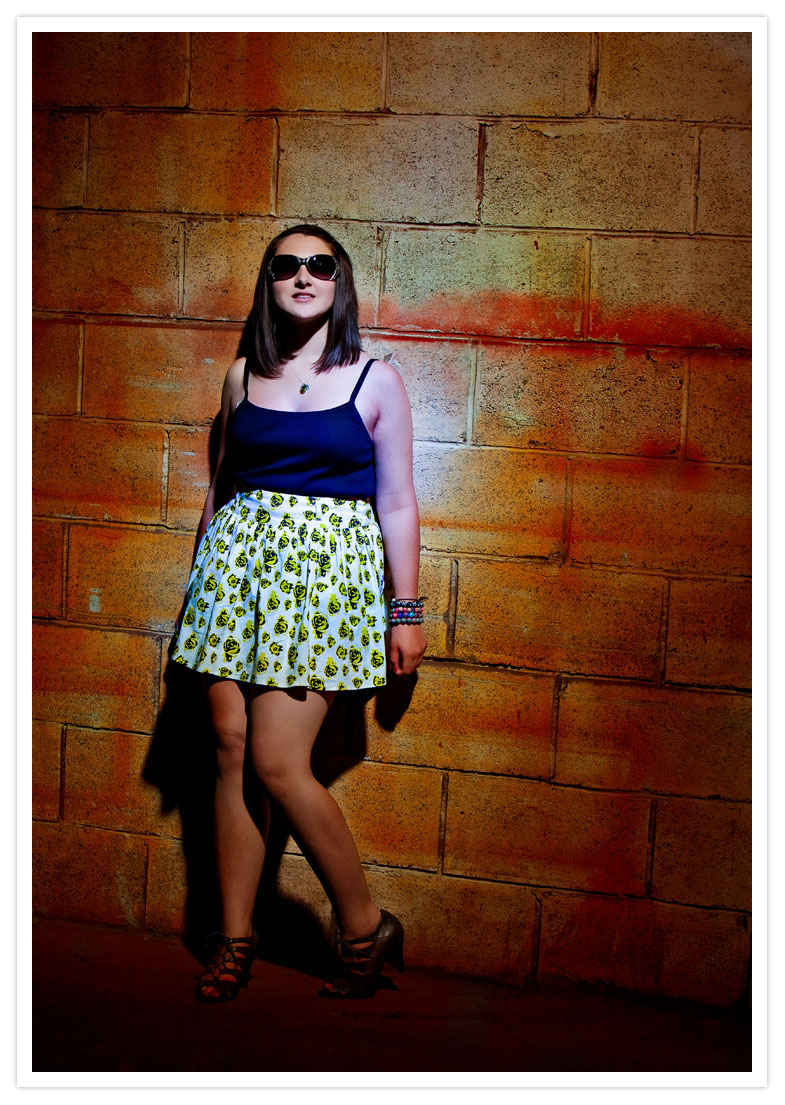
I shot this image using flash! Yes really! It gives a little bit more of a edgey feel to the shot i think. Shot using high speed synch flash at a fast aperture to blur the background.
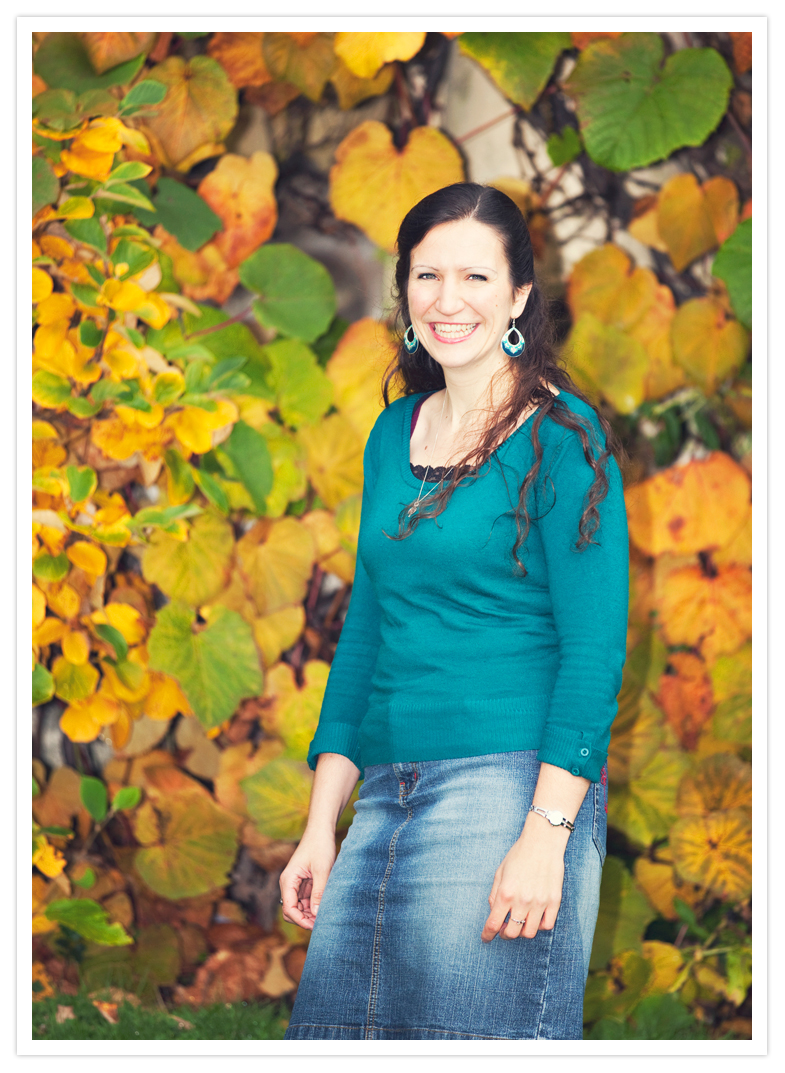
Adding a dramatic background and using some leading lines for this shot. Again getting a young lad to lean against a wall means that he doesn’t have to think about what to do with his limbs!
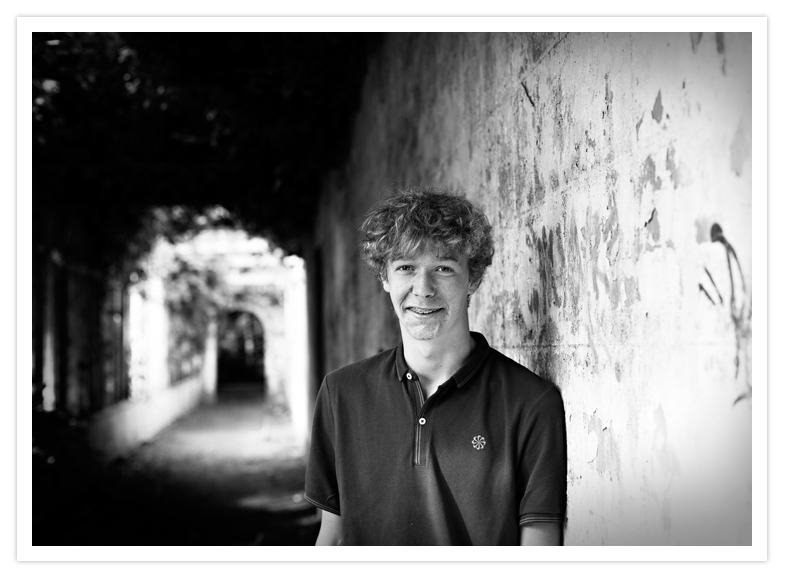
Leaning on something is another go to pose i have found that works. It looks natural and you can slap them straight in the middle of the shot, commanding the stage! I was asking this young man about his girlfriends which his family thought was hilarious..he was quite dignified in telling me though, it was serious stuff!
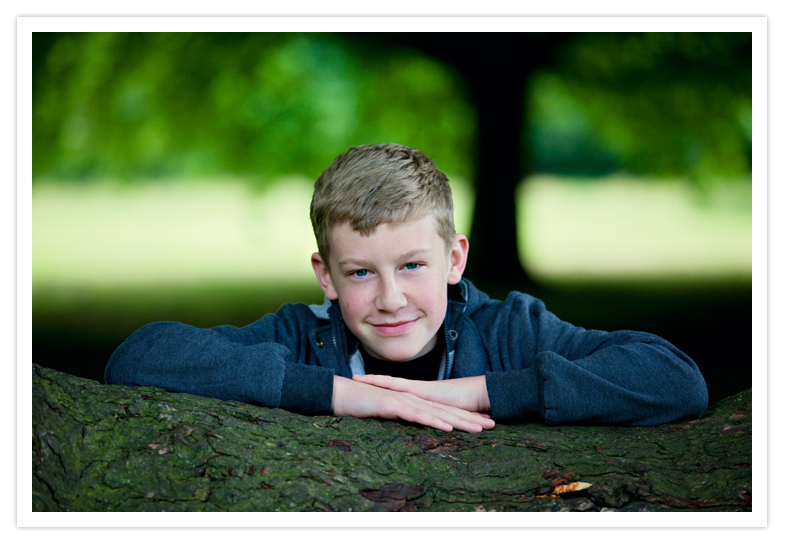
This is a great shot for a teen and also for anyone else really as it is really flattering. Lean yourself and your model against a wall or something similar and shoot along it, you can see how it gives a real depth to the shot leads the viewer exactly where you want them to look. Just remember to focus on the right point!
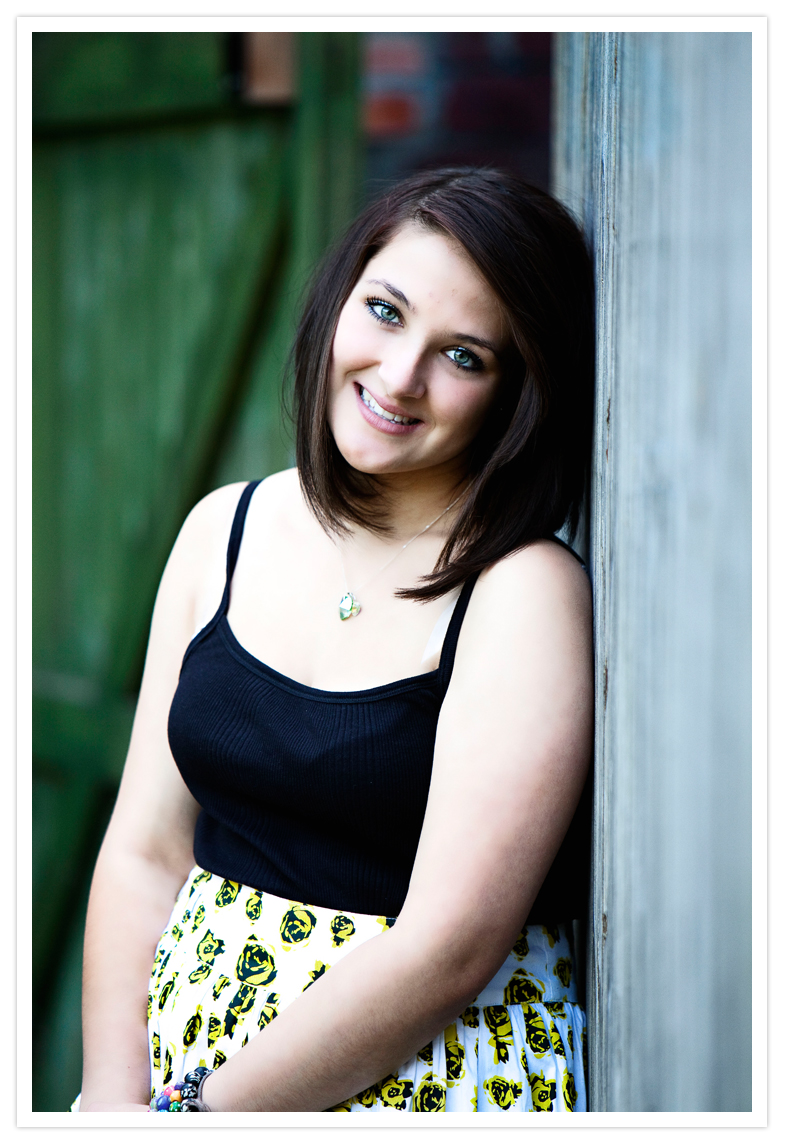
Always good to give them a chance to ‘cuddle’ their siblings!
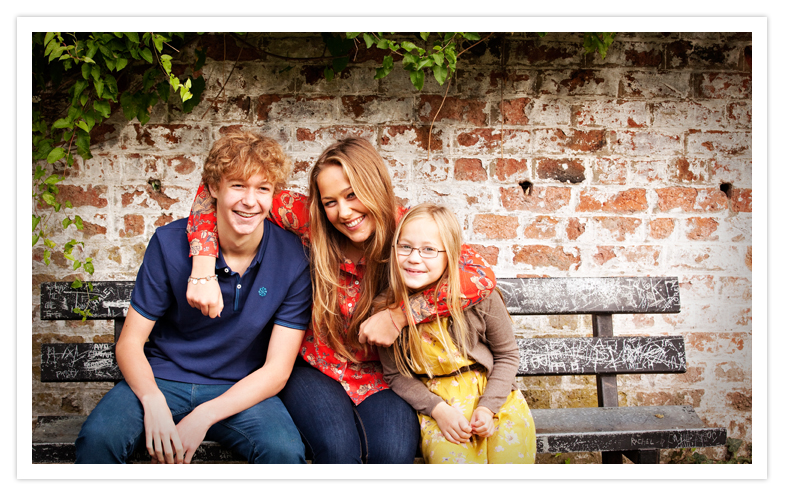
Up close. Super sweet portrait shot, in soft sidelighting, i had mum holding a reflector to the right (being really picky i should have asked him to turn his head slightly). I really love this quiet seeming stillness, at the beginning of growing up!
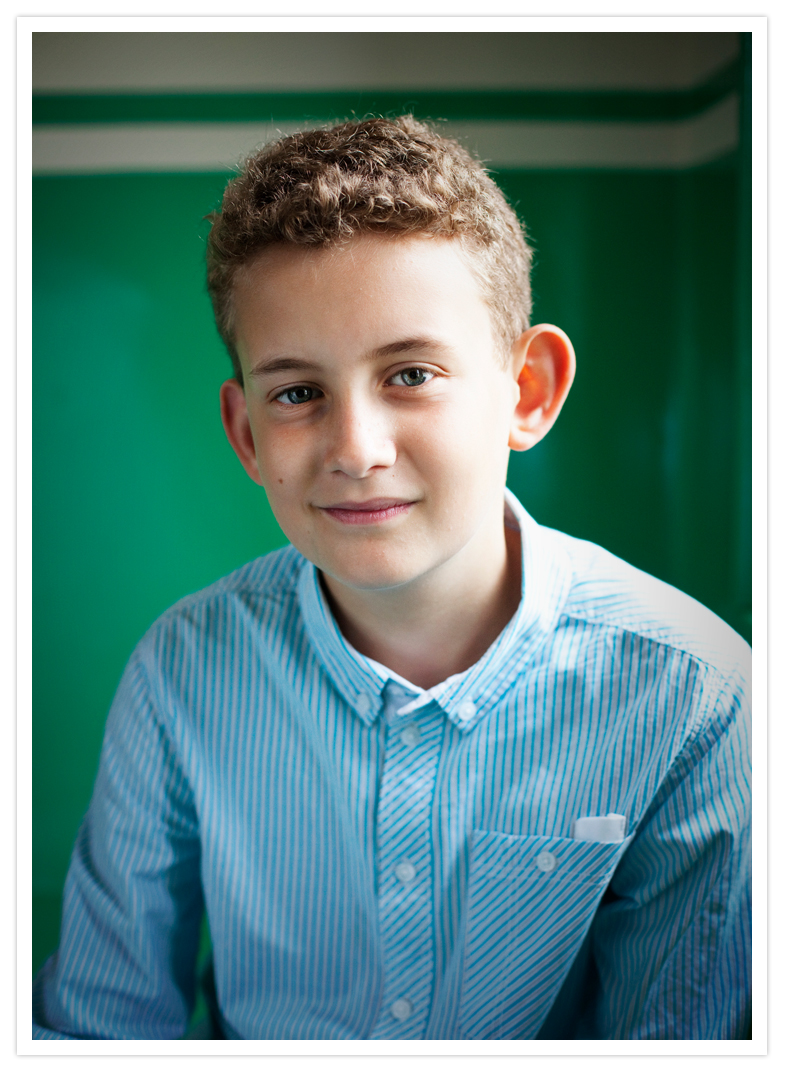
That POSE. that all girls do 😉 But it works really well and again is a good way of getting your model to do something with their hands. For boys have them stand with their feet about shoulder width apart with their thumbs tucked in their pockets.
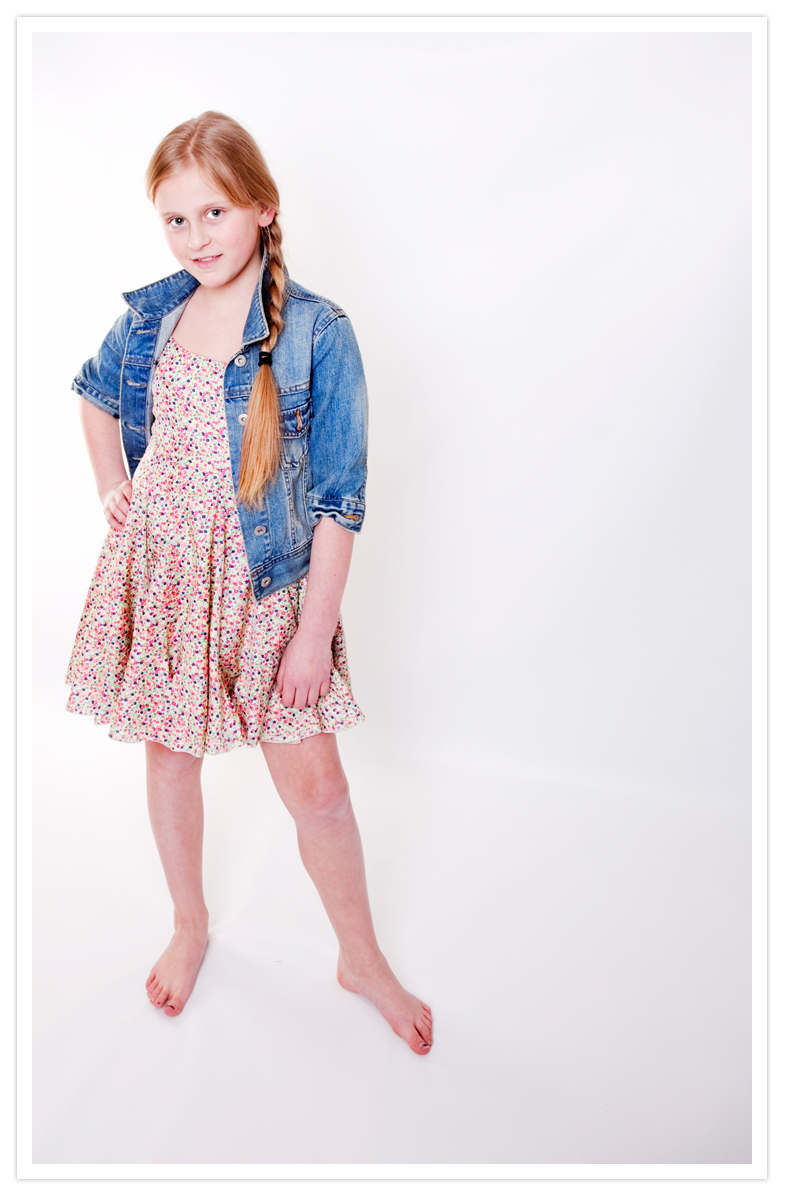
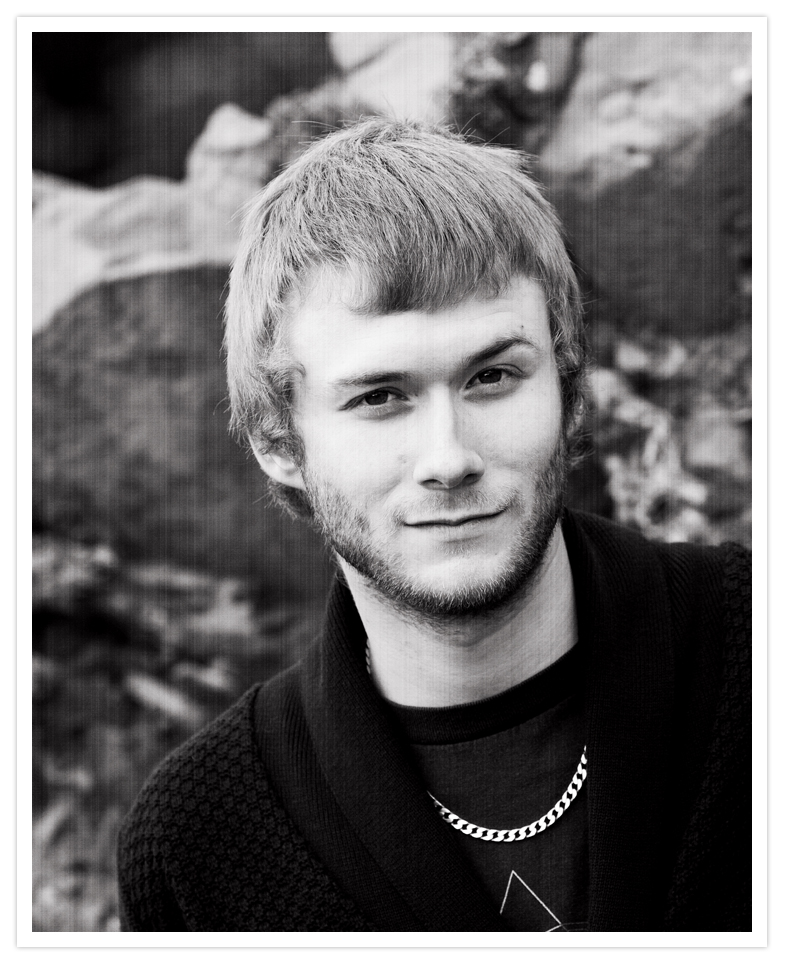
Another portrait shot, this time with a slight angle on the shot as i took it and ive also added some texture in post processing which adds something. Plus this guy had incredible eyes! I have found as well that teens like the serious look, brooding with attiude. I think its great to let them do that. This guy also cocked his eyebrow in a really cool way, something which probably makes him..him if you know what i mean! lol,
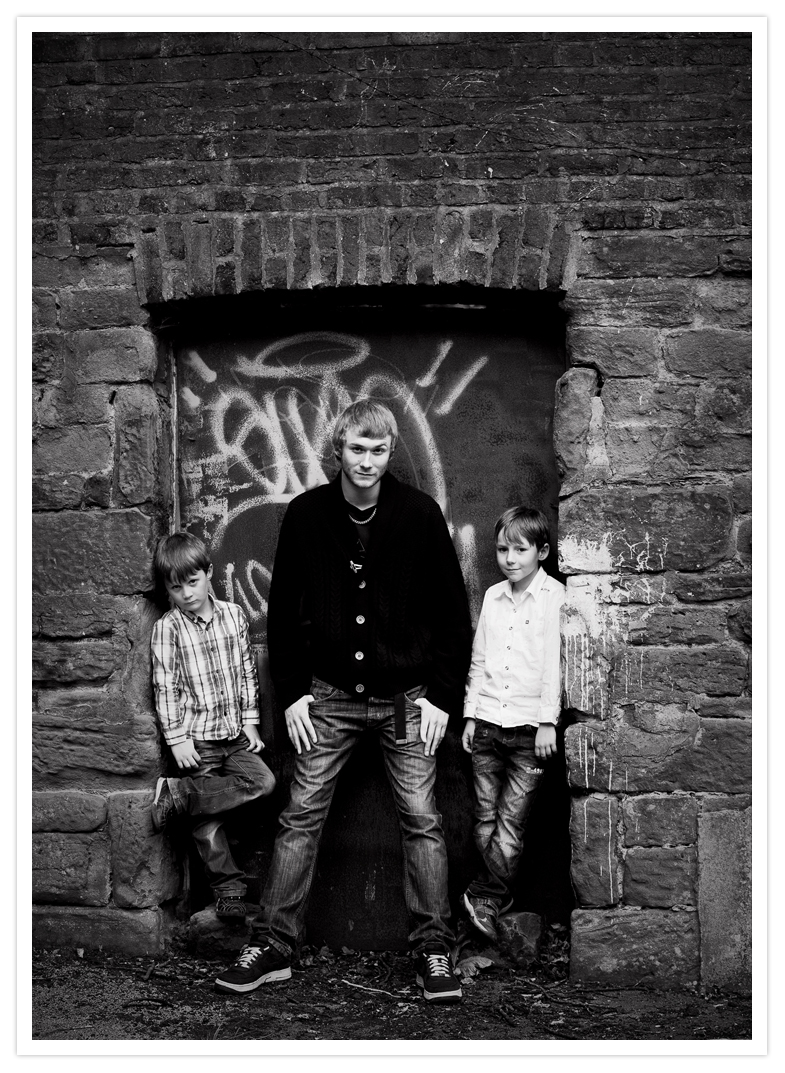
Actually one of my favourite shots! Three brothers. Look at how the littlest one is trying to copy the cool older bro! Priceless!
Motivational Monday

Follow:

Reflecting part 5: make a shape and pull a face! #magicmoments #whatsthestory #mamarazzi

I am continuing my series of looking at some of my images from last year and sharing some of my thoughts and the settings i have used. Last week i was talking about learning and how, i believe, that is the greatest investment you can make in your photography arsenal!

One of those things that we all say is how much we love natural shots, those candid captures that really bring out the personality of our subjects. Its something that we all strive to do as we tell the stories of our lives. Sometimes its not always the easiest to do. The light may be poor, the environment might not be right or you might just have not got to that shutter quick enough! 😉

One of those images that people love is the everyone jumping in the air type shots. We have all seen them, they are a favourite wedding shot or portrait session shot of the family. Its something everyone can have a go at and when you have a couple of wriggly kids it is a great distraction and they all love getting involved.

From a photographers point of view that type of shot is actually quite hard to do well. I like doing the shot because the kids love it but it isnt an easy shot for me to do well and be happy enough with it. Its often a shot that i would ask a family with older kids to do as they can actually jump away from something..rather than fall, which is what a lot of toddlers will look like they are doing. But if we are getting nowhere with some little ones then this type of shot can certainly bring them back into the spirit of it!

Its a hard shot to do outside of a studio setting. When you can control the lights and use strobe lights and have a fast shutter and lower aperture then you can get a sharp image and freeze movement. Outside you are limited to using settings that are appropriate for the lighting you have been afforded and so you might not be able to have a fast enough shutter in order to give you that low aperture (big number) so that your depth of field can work for you and more is in focus!

I mentioned this type of shot to another photography hero of mine who i spent a workshop day with and his advice was don’t do it unless asked!! 😉

So here are a few of my thoughts on how i go about getting these shots.

1. As i mentioned it is a great shot to get the kids back on side. They love to do it, all kids love to jump and they love the fact that they might be caught in action. It is the one shot that always gets them rushing to see a preview back on the screen.

2. One thing i always make sure that i explain to the kids is that they have to listen to me and only jump when i say so. I usually count them down 1.2.3.jump!

3. I always tell them to make a shape. usually arms out to the side, legs out..or something…if they just jump then if you capture that moment it will just look like they are falling. Doesn’t give much of a feeling of movement. So…make a shape!

4. Look Ahead! its natural for all kids to look down to where they are falling. That is going to get you a shot of the top of their heads. So i always say look at me and pull a face!! We go for make a shape and pull a face! It usually works!

5. You need a low or narrower aperture (thats a high number) or F stop. I would usually aim for F8 so that i can try my very best to get most of the family in focus. A family is made up of lots of different heights so if you are asking them all to jump up in the air, focusing each person well is hard. A wide aperture (low number) may give you one person’s face in focus but everyone else will be soft.

6. You need a fast shutter speed. You want to freeze movement right? Generally i would shoot at above 1/250 to capture the movement.

7. Aim to try it in good lighting…bright daylight conditions. Then you won’t have to massively increase your ISO to cope with the aperture etc that you are needing for your camera.

8. Hold hands! This is a really good one if you have little kids, will help to get everyone going ‘up” at the same time.

9. Put your subject on a little hill or step and ask them to jump off that rather than jump UP in the air from a flat surface. It’s easier and not so much effort for a little one.

10. Set your camera’s focus to a single point. On a lot of cameras it will give you lots of AF points. You can set your camera to only pick the one you choose. If you leave it to select it, it will be jumping around all over the place trying to focus on the different subjects. Use it to help you get folks in focus. Select one ( i usually go for middle) and then you can always re-compose your shot if need be.

I never really tire of this shot. Even though, in reality, most clients are not going to choose it for their wall. But i do love the joy that it brings out in the kids and the kid its brings out in the adults!! 🙂

Here are some of my favourite ones…

the ordinary momentsMotivational Mondayliving arrows

Follow:

learning..learning..learning. Reflection part 4. #whatsthestory #magicmoments #mamarrazi

When you take a lot of photographs..you look at a LOT of photographs and not just your own. I am always checking out imagery, lighting and maybe the odd bit of PS awesomeness in lots of other folk’s work. Other photographers work can be so inspiring to look at and try and work out what they have done, how they have made it work. Always studying, always learning…

One of the things i get asked a lot is ‘how do i improve my photography?’

and no..my answer is never get a better camera. Well not initially anyway. I will always answer..get some training or education. Learn about light, what makes an image capture the eye and how you can go about using your camera to allow you to put on to film what is in your mind’s eye.

I have done a few bits of training with some incredible professionals and it was better for my photography than ANY bit of equipment that i have ever purchased..and i really really mean that! What you can learn, particularly on a hands on course, will teach you far more than shelling out the price of a small car to buy another fancy pants lens.

In 2013 i did a one day semi-private course with one of my photography heros. It was a day looking at natural light photography and a bit of flash based around a bride. Yeah..not exactly what i choose to shoot. BUT it was incredible. Those AH HA moments came thick and fast. I was desperately trying to remember everything and take it all in. They did not discuss kids, newborns or anything like what i photograph day to day..but what i learnt there has stayed with me and it can all be transferred to almost every type of setting. The basics of good photography don’t change. Its just your subjects that do.

It was a lot of fun actually photographing a bride and thinking about how you can get amazing poses and shots for adults who take direction. It is inspiring to be with other photographers too and share ideas and get help!!

Some of the things we chatted about were using reflectors effectively: I havent put any of these images through post processing, other than a little sharpen. Just want to show what i learnt and the difference it makes when you actually know how to use that very clever little black box you have in your hand 🙂

Then we chatted a little bit about Kelvin…(thats not a person!) its how temperature is measured. Whats this got to do with photography i hear you cry? Well light is measured on a Kelvin Scale. It is fairly straightforward on most DSLR’s you can change your white balance and on some DLSR you will be able to dial in the kelvin range of the light you are shooting in so that you camera can better assist you in getting the light right.

Make sense? Nope? Okay maybe this table will help.


To demonstrate with the images of the bride. Here is a shot where we dialled Kelvin right up to 7900K. So what we have here is that the camera is then thinking that the light is really really cool, on the blue end of the scale and so it compensates by throwing in some warm tones..which we probably didnt need in the setting we were in because it was already warm ish but just to see what it was like we gave it a go. This would be similar to selecting the ‘cloudy’ setting on your white balance.

Then we dialled it back to 2950K – way down to the yellow/orange sun maybe even warm lightbulb oranges..see the difference?

The camera is now trying to take down the orange tones that we are telling the camera is there. So the outcome is this blue ish tone. This would be similar to the tungsten light setting on your white balance.  The colour difference is amazing. She did have a little off camera light on her in the second one.(which is what is lighting her face) .but you can see the idea…:)

We played around with using a small hand held light..and the dramatic effects it can make in darker locations. More on this sort of lighting another time!!

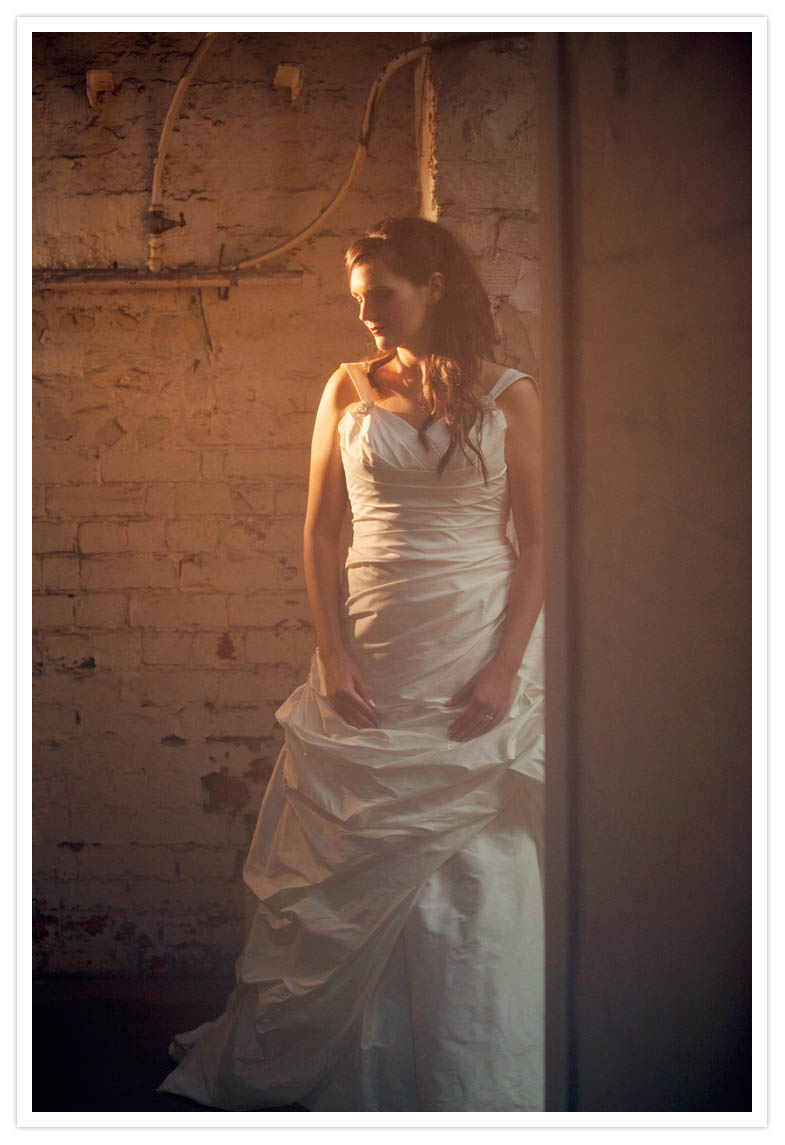
But one of my favourite images from the day was this one shooting through a hazy filter..which gave such a lovely dreamy effect on the bride. I love that what looks like a moment of quiet contemplation is captured, like we may have just caught her as she is pausing to reflect, before the big day, after maybe, as she is praying, thinking, dreaming. Its a window to the soul (even though it was pretend as she was a model). It could easily be one of those sort of moments and the hazy, pinky filter that we used in front of the lens just adds so much to it.

One of my favourite days of photography and it was for pure enjoyment and learning. It is good to push ourselves outside of our comfort zone and have a go at other genres of photography. Why not try something yourself? street photography? landscapes? nature? It helps you to ‘see’ things differently.

It was amazing rubbing shoulders with real professionals who have been in the industry for so long and had so much knowledge to share. There is an element i guess in all industries that gets its feathers ruffled when new people come along as beginners and want to learn but I am all for it. We are all beginners at some point, we all have to learn. If you have found it out the hard way doesn’t mean that everyone has to go the same route.

Its good to share! 🙂

the ordinary momentsMotivational Mondayliving arrows

Follow:

Reflection part 3: how do they do that? #whatsthestory #magicmoments #mamarrazi

Continuing my series of looking at some of my favourite images from last year. You can see my last two posts here and here. 

I do a lot of newborn baby sessions. They are one of my favourites. I always say ‘babies are my business!’ 🙂

Having worked with newborn and premature babies for all of my professional nursing career it seemed like a natural extension when it came to photography! 2013 was a good year for newborns for me, I got some really well behaved, good sleepers and settled little clients and managed to get some lovely shots that i am really proud of and that i hope the parents love to! 🙂 I have written some another post about newborns here

One shot I did last year that I was really keen to try. I had seen another photographer talk about it and had waited until i had a really good sleepy baby and a game Dad to give it a try.

I have had lots of people ask me how i did it and of course with images now there can be a lot of ‘magic’ behind them whether thats just a little smoothing of the skin or large photoshopped edits. A lot of photographers will keep their cards pretty close to their chests! But I was keen to say how i actually did this shot because i want to emphasise how i did it from the point of view of baby safety.

Which is the most important thing for any photographer to consider…

Firstly i got Dad to have a go at his part of the shot. He is in front of a black backdrop and is leaning over a large beanbag which is covered in a large black blanket. Dad is actually kneeling on a bunch of towelling nappies that i use for mop ups! So that his knees didn’t ache too much. I shot a couple of images of this pose making sure his arms (he had very long arms!) were entirely on the background.


Then we got dad to strip!! and put their wee little girl who was completely asleep (they really need to be totally asleep) onto dad’s back. She was on a little rolled up towel but on reflection she was fine on her dad’s back and i was a little concerned about her being cold or uncomfortable but skin to skin is the warmest place for a baby to be….tsk tsk SCBU nurse! 😉

Then and this is the really important bit. Mum was right next to baby. You can see where mum was standing and how she had her hands on the baby’s back. Baby was in no way at any danger of falling. It’s really important to remember that babies can move their limbs very suddenly when they are asleep. We have all seen those moro reflex moves. ‘Monkey falling of a branch’ we used to call them and those sort of movements are totally involuntary and a newborn baby can do them anytime. So having a ‘spotter’ is not only important it is essential and it gives me chills the idea of working without one. You don’t need an assistant you just need mum or dad close by.

I asked mum to take her hand away from the baby’s back by a matter of inches for the seconds in which i fired the shot. That gives me distance between the two..which as anyone who has worked in photoshop knows,  makes editing SO much easier. Taking of the shot was seconds…setting it up took a LOT longer 😉

After the shoot, what i then did in photoshop (and i won’t go into photoshop speak, thats probably a whole other post) but remember the image at the start with dad without the baby on his back and just his arms out stretched?

Well this is what i did, i took that images and copied the part of his arm that i have circled in white. Which is the part in the shot with the baby that the mum is standing in front of.

Then i put that onto the image with the baby using layers in photoshop. That then essentially covers where mum was standing and completes Dad’s arm. Its a little more in depth than that but hopefully you get the idea. 🙂

and this was the finished shot.

The refection is put in post processing in photoshop. I had someone ask me if i had him kneeling over a mirror!! *insert scary face* and i have edited out mums hand, arms etc from just above the baby’s back…and generally prettied it up a little bit with some lovely black and white highlights here and there.

It is a lovely image and i know that the family loved it. When i put this image on facebook for their sneak peek the thing i loved most about it was that people didn’t initially see the baby or weren’t too sure what it was and had to do a double take and really study it. I love that it got that reaction and that people had to look deeper into it.

From a more mushy mummy level i love that demonstrates a little that bond that a Daddy has for his baby.

Almost like he cannot move until she wakes…

🙂


the ordinary momentsMotivational Mondayliving arrows

Follow:

Reflecting part 2 #magicmoment #whatsthestory #mamarrazi

I mentioned in one of my previous posts that as i was approaching the end of the year I felt that it would be good to reflect on some of my professional work with portraiture. Took a bit of a break from that over the holiday period but now i am going to continue it a little bit. 🙂

One of the most frequent things i get asked is how do you get toddlers to stay still? Those children that are aged say between 18 months – 3 years old. Mums and Dads will always come to me and say ‘i just cannot get them to stay still for a decent picture’ and yes those blurry action shots are fun for depicting the energy of your child but what about getting a good clear shot of their faces that is in focus!!

Well i thought i would share some of my methods for getting that age group to stay still and some of my favourite little toddlers that i have met this year.

Okay so first up you have to accept that generally saying ‘just sit still a minute’ isnt going to work. That age group cannot follow instruction really. I have had a few that have and i have been totally blown away. But in general a child who is less than 2 cannot follow a direction. All their goal in life is to get going. They have usually been sat on their backside for a good number of months watching life happen and now they have found a way to interact with the world, and fast, they have NO intention whatsoever of being made to sit still.

and yes…you might say ‘oh but i love those natural shots of them playing etc etc’ = well yes they are great but if you have another sibling or anyone else you would like to be in focus in the shot..then a fast moving kid is going to make that pretty hard. Yes i know those shots are lovely but generally (and im only speaking from experience) people want the family portrait to put on the wall and not the one with little johnny tearing off into the bushes while mum and dad look on. generally. 😉

So when i get an enquiry and it has the word ‘2 year old’ somewhere in it. These are some of the things that i will try…

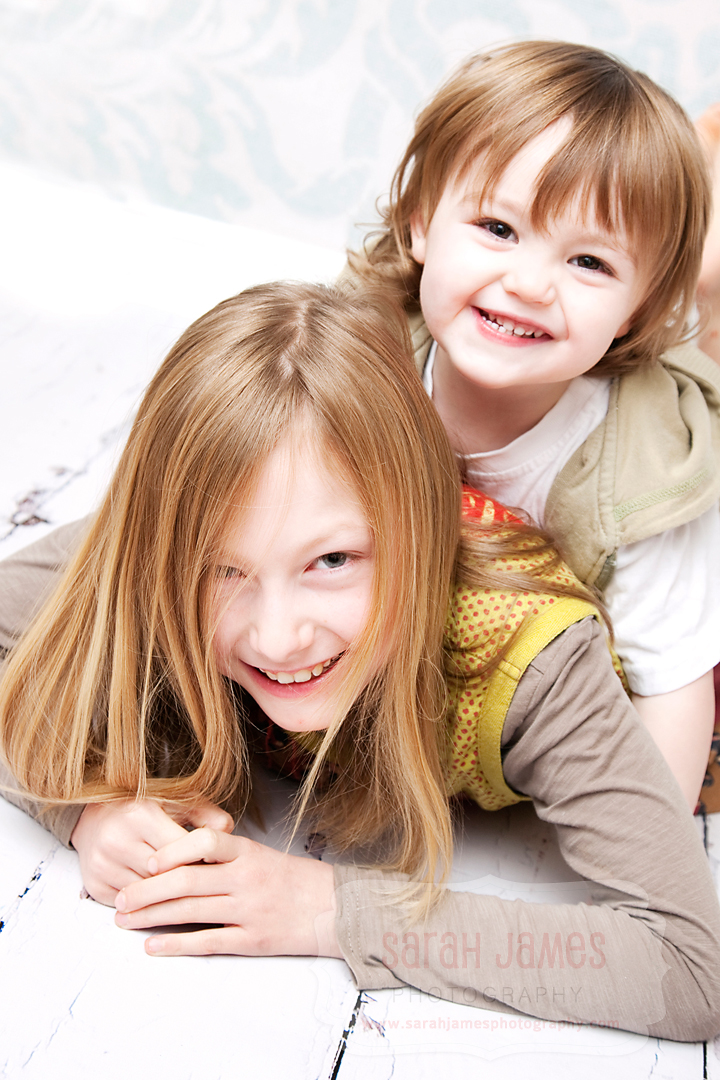
  • Older siblings – they are awesome and all little toddlers love to copy big bro or sis. If you have a school age child then you have an ally. School age children are used to following directions from people they don’t really know that well…(ie a teacher) and so when you ask them to sit down for you they will probably do it. They can be used to tempt a toddler into a shot and also as an anchor. Get the toddler sat on the older siblings lap and hold on to that toddler! Or get the toddler to lie on the back of the older sibling. There are loads of ways you can get them interacting together to make a great portrait. Here little boy didn’t want to stay still so we got very patient big sister to lay on the floor and told him to jump on her back!! If i was being really picky i dont like that her hair is covering one of her eyes but its a very cute natural expression. 
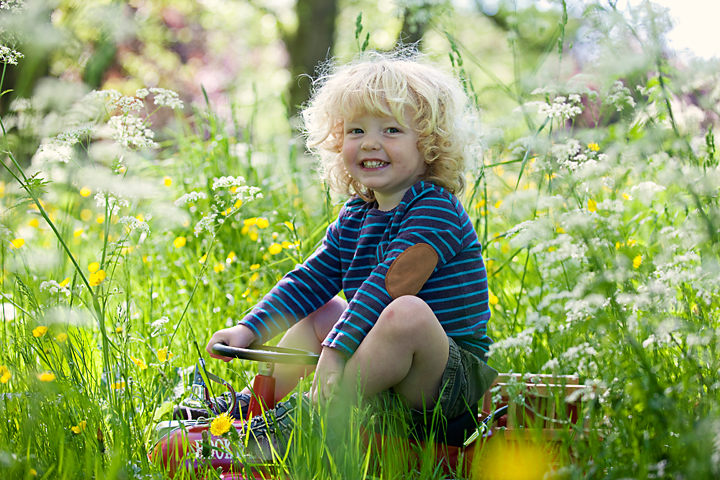
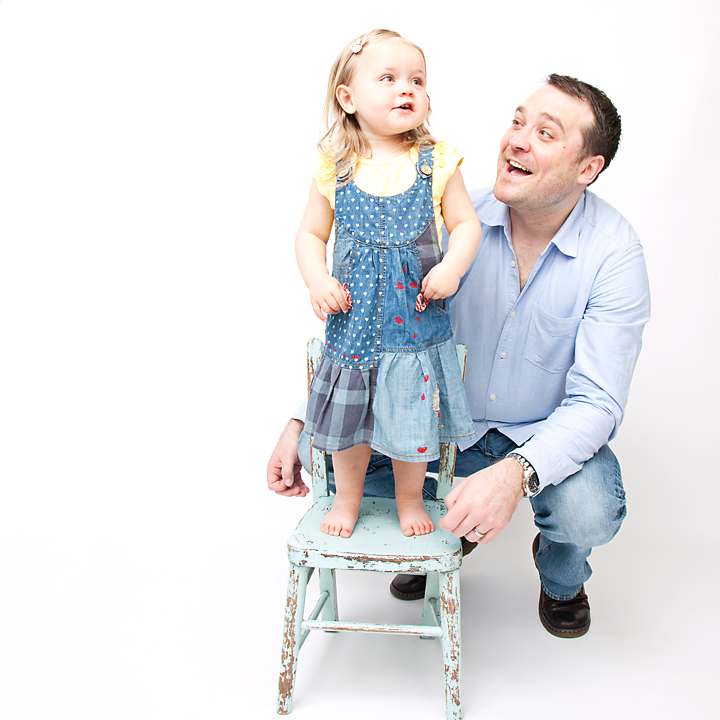
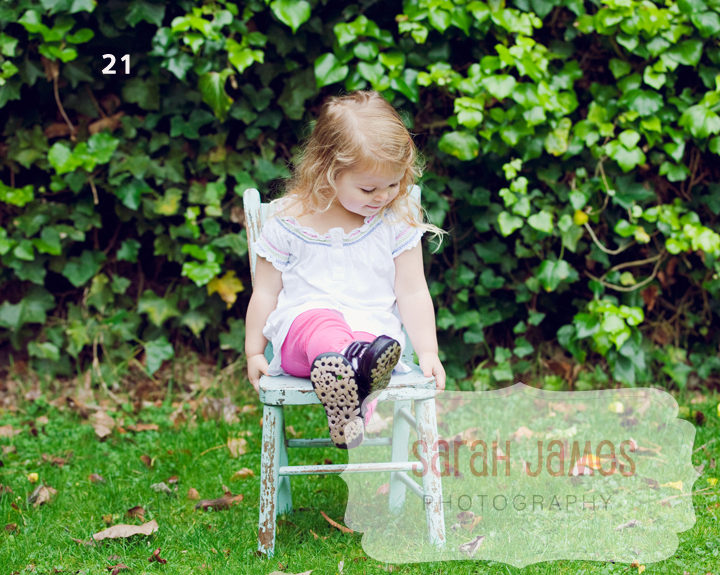
  • Give them something to sit on – toddlers love chairs, they have spent a long time trying to get on chairs and so when they are old enough and able enough to get on one. They love to. Pop one where you want to take a shot and wait, your toddler will come and sit on it. You can suggest it as well. I have a range of things to sit on, ranging from a chair to a fire engine truck. It keeps them still and in one place for a moment and you can get your shot. Or put them in something, i use a little red trolley radio flyer that the sit in which is usually pretty successful. the little girl in the middle would not sit down at ALL. so we improvised and got some cute shots of her actually standing on the stool. One of the great family shots from this shoot she is standing on a chair, i just got mum and dad in around her and then zoomed in for a portrait shot so you couldnt see the chair. 🙂 
  • Lens buddies – these are cool little things that you can put on your lens to make it look more like an animal. Now, i am a big advocate but they don’t work for long. Toddlers aren’t silly and once they realize that Tommy the turtle really doesn’t burp when they look at him or whatever it looses all its appeal.
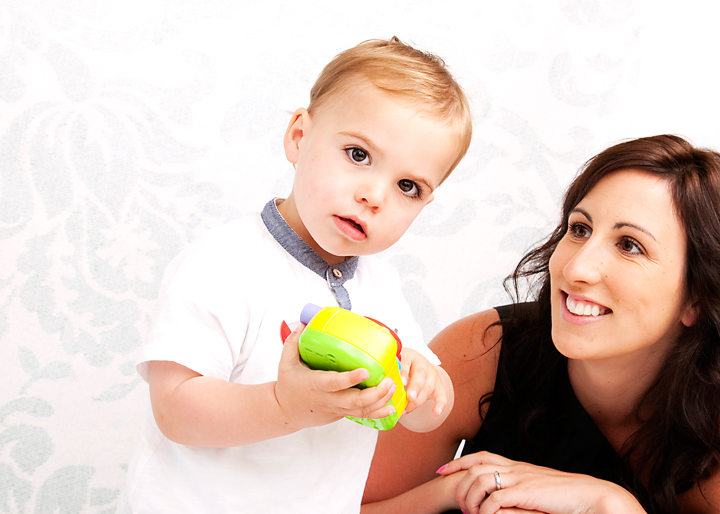
  • Try to avoid too much stuff on the floor for them to play with. This is something we all do. Put something they want in the middle of the floor and they go and get it and sit down to play. Yes? well..yes and then unless they lift it to show you they are going to be looking at thing on the floor and you will generally be looking at the top of their head. Perfect example of this here, this little boy loved my toy camera but he either was looking through it which whilst cute blocked his face or he sat down and looked at the floor to fiddle with it. Mum was in the process of asking him to give it to me when he looked straight at me..probably thinking you are NEVER getting this thing off me lady! 😉
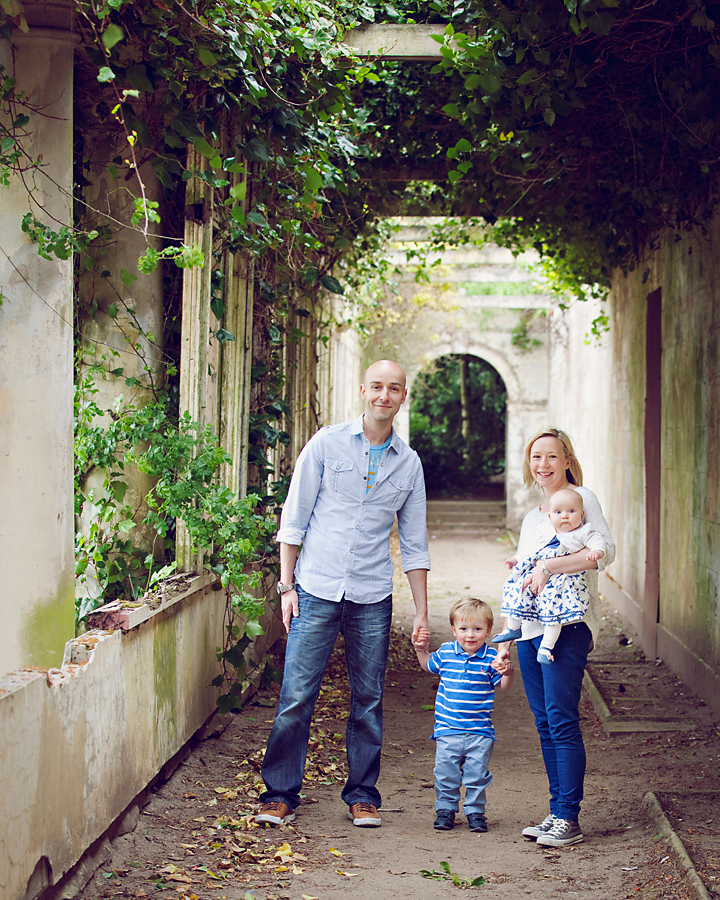
  • Get mum and dad involved. Or get involved yourself and set on a timer. Btw all kids think the running to the shot from the camera is hilarious! But seriously the parents are such great tools. Either from the point of view of sitting and holding or tickling or singing to the kids…or standing behind you at your height and getting the kids to laugh. This lovely family were just doing the swinging through the arms thing with their toddler which he was loving hence the smile and so i just captured him before he went up and over. The second shot was a family lifestyle session at home with new baby and whilst mum and dad are not in focus in the shot, the toddler looking straight at me is being watched by all the others in the shot and it brings a real symmetry to the image. Also they were in between ‘all the monkeys jumping on the bed!!” 
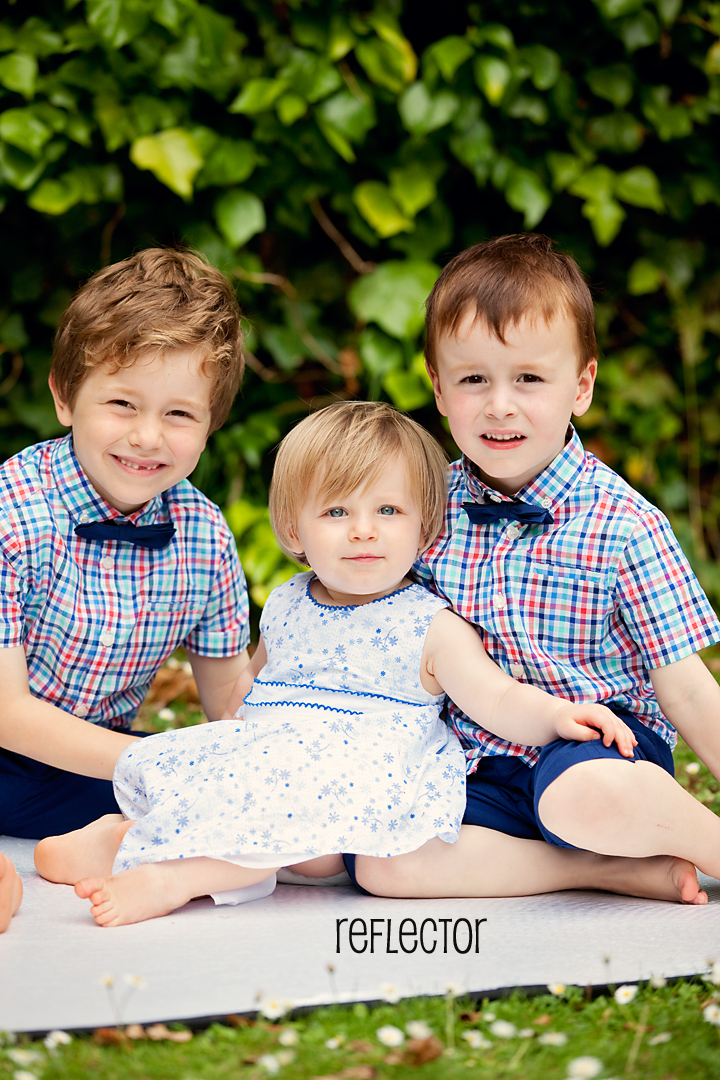
  • Reflectors. If you are using a camera you need to understand about these..i wrote a post here demonstrating it. Reflectors are great. They reflect the light but they are also really useful as space ships, flying carpets, tunnels…let their imagination tell you where they want to go and you will see that their face will light up. These kids were sitting ‘on’ the reflector that way it gives them a cool thing to play on and also bounces some light up into their faces! You can also use your person who is holding it. Get the kids to look at them and chat to them or get them to pull funny faces, chances are they will be someone they know. Looking away from the camera is okay!! Obviously i would have cropped this image to get rid of the actual reflector!
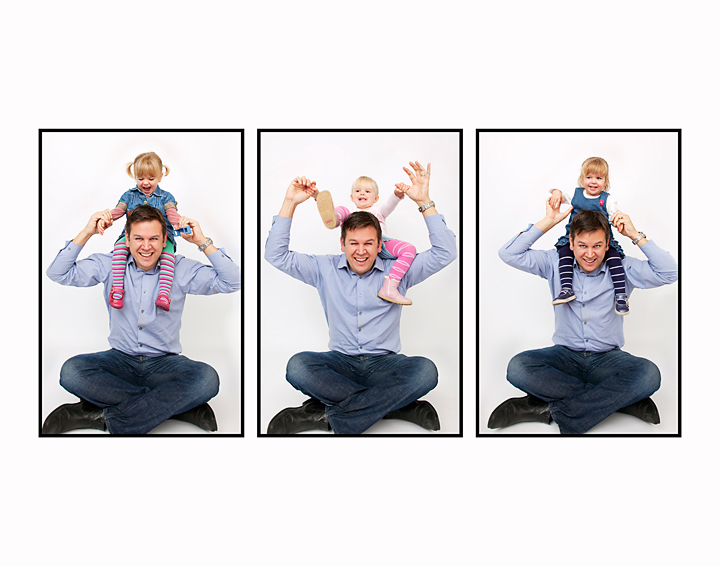
  • If you have a couple of toddlers or twins..and can’t get them together..try for the same image of each of them and make a montage. Just because they aren’t physically standing together doesn’t mean you can’t make a great family shot. This dad was keen to get shots of him with his three toddlers, they weren’t keen on being in a shot all together so i shot the same image of them and put them together in a montage. Being on daddy’s shoulders is also a good way of keeping them still.
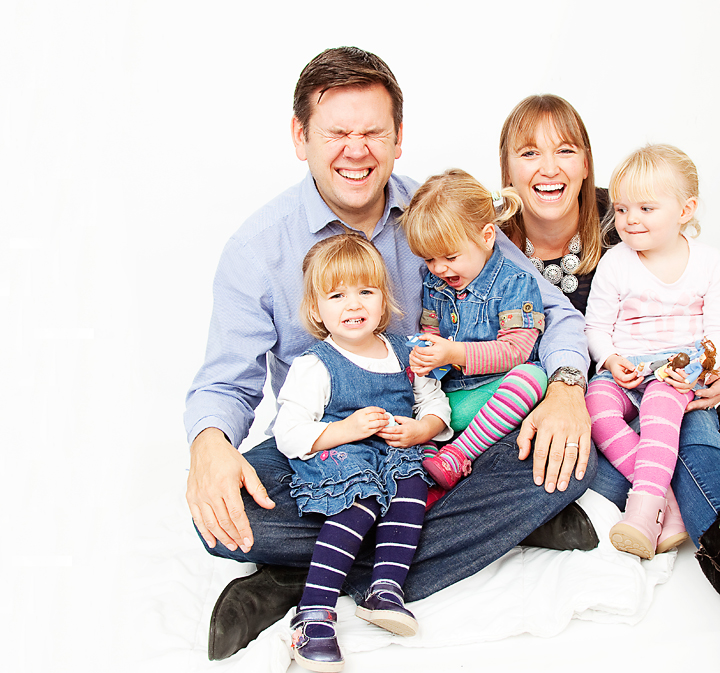
  • Capture the mess as well. Life with toddlers is messy right? haphazard, up and down, smiles and tantrums. Capture it all. Dont wait for the perfect moment. This image is actually one of my favourite shots. This lovely family have a 3 year old and 2 year old twins and we were trying for a family shot and we thought we had the girls sorted with a toy that suited each of them as they were squabbling a lot. They sat down and almost immediately the other one wanted what the other one had…and in that moment the exasperated laugh and expression of the parents spoke volumes.
  • Props – sometimes these work and sometimes they don’t. But if it works you will have the interest of your little person for a good while.
  • Get above them and get them to look up. Makes those lovely baby eyes come out.
  • Make noise, farting, sneezing, whistling. Anything that makes them look at you
  • Bring a toy to life – this is one of my favourite things to do. Get them talking to the toy! Its endless the possiblities.
  • Lastly and perhaps more importantly is give your camera a fighting chance. Aim for a lovely bright, overcast, time of the day and your camera will be able to work at a fast shutter and wide aperture and produce some lovely effects.

Golden rules of what NOT to do...

a) force them to be in a shot. it doesnt work and they just get upset

b) Get stressed with them. I am always telling parents to stay calm and let little chloe run off into a different room or down the park. Its fine. Let them be their own person. Toddlers will never perform if someone is saying ‘do what the photographer is telling you now!’ through gritted teeth and with all an army load of tension. They aren’t silly!

You will notice that i don’t mention bribes as in sweets, treats or things. Its a common thing you hear ‘just have this one picture and then we will give you sweets!’ Whilst this might get a kid to do what you say for one shot, when you then ask them to do something else they clock that they haven’t gone for lunch or been given a sweet and they think you are a liar….taking photographs of little kids is about building as much of a trust relationship as possible and if, in their eyes, you are just fibbing to them then they won’t trust you. However sometimes you have to resort to a little bribe and i often have those little fizzy sweets in my pocket. You can give them one of them, they know you are not a liar and it dissolves in their mouth fast without making a mess…one parent i had continued to give his toddler daughter wine gums!! It took ages to chew and the drool down her mouth!! You can see what i mean!!

My last thought would be have reasonably expectations…like i said, i have had a few very young toddlers who have done exactly as i have asked. It is, i think, one of the hardest ages to photograph because the window of when they are actually cool with being followed around by a smiling maniac with a big black box  is very small.

It is good to be realistic. Aim for a good ‘happy’ time of day. Make sure they aren’t hungry, dirty, need a wee, need a change. give it a go..and don’t keep on and on if its isnt working…

If they are up for it…GREAT. If not, you will live to fight another day and go and have a cuddle on the sofa instead!

Motivational Mondaythe ordinary moments

Follow: