Its all in the meter #mamarazzi #photography101
Okay so this is one of my favourite little tweaks you can do ‘in camera’ to your images and it can really make a massive difference. When we are talking about metering, we are not meaning those folk who turn up in high vis jackets to rummage through your under stairs cupboard to read your gas meter. Which incidentally WHY are they always in such ridiculous to reach,buried by debris type places? Who designed that? Anyway i digress..
Have you ever seen this:
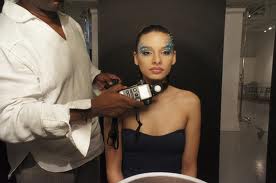
The thing that that is being held in front of the model is called a light meter and it is basically an external devices that measure the light in any given situation. When parked in front of someone like this and pointing toward the light that is hitting the subject it will spew out some numbers which should, when plugged into a camera, properly expose an image. Which is great. Problem though? Every time your light changes you have to bob out in front of your subject an take another reading…not so handy when you have a small, wriggly kid.
So the gods of digital put a device like this IN the camera itself. YAY! : )
and it should be one of your favourite tools.
Right so where is it? Here are a couple of screen grabs of what it should look like on your camera:
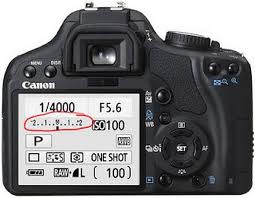
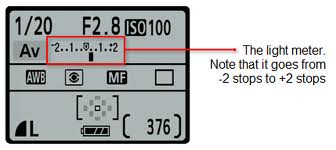
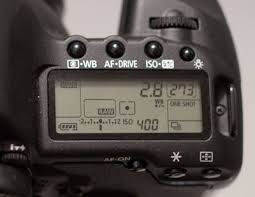
It looks a little like a thermometer dial and you can see that it goes from -2 to +2 either side. These are called stops but without getting confusing going for the add side you are going to add more light into your image and the other way it will be darker. Simples. The Zero icon in the middle is correct exposure and what you should be aiming for most of the time.
So easy way to get started. Pick and ISO and plug it in, you can do this in manual mode or generally one of the priority settings (as in aperture or shutter). You can’t do this in auto modes usually. Anyhow so pick an ISO, (100-400) outside on a bright day. Then point your camera at something and change the aperture or shutter until the little line in the middle of the thermometer bar is in the middle. POW! perfect exposure all created by YOU!
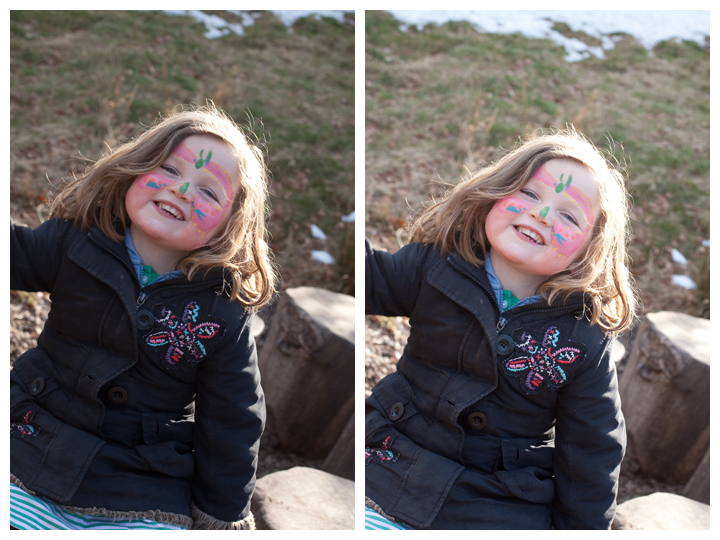
One thing to bear in mind though is that your camera can be fooled, if there is a lot of light around then it can work out the values incorrectly and you can end up with an over exposed image. This is where practice comes in and being able to account for it and then changing your little dial to adjust for that difference. For example in back lit situations, your camera will meter for the light which will make you subject dark. So what you want to do is go up a coupe of stops towards +2. That lets some more light in and will hopefully illuminate your subject as well.
Here ‘s a bit of an example of what i mean..
In this image, i have adjusted the exposure by half a stop. You can see the difference it has made! Just one or two clicks to the + side and you can really change the look of the image. I did these adjustments in lightroom just to give you an example.

then here in this image i have taken it down a whole stop. So that the brightest part of the image really stands out, thats going towards the – end.
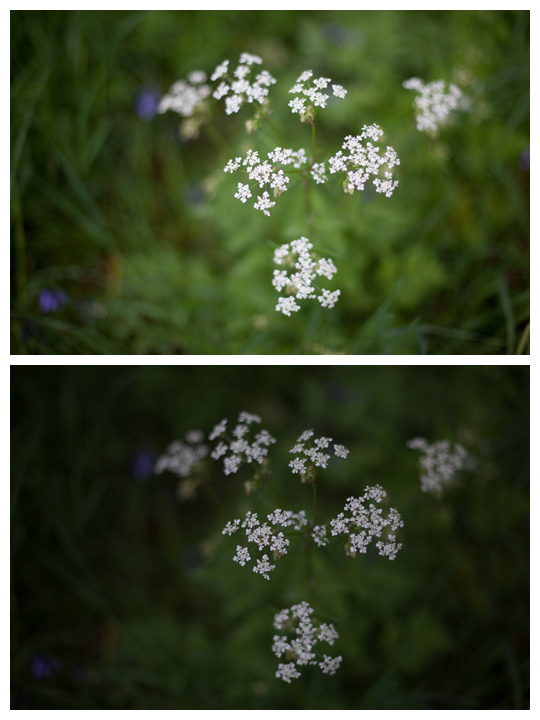
especially useful when you are dealing with a LOT of very bright sunshine…just tames things down a bit,click half a stop down.

and very useful in a backlit situation when your setting would naturally be too dark for your subject (because the bright glow from the sun is fooling the camera) Up half a stop towards the +
what a difference a setting can make, this is the exact same shot taken in two different ways. One on the right i exposed for the foreground, trees and grass. In the second i exposed for the sun. How beautiful is that starlight and see how we are now bringing out the colours in the sky rather than just a big white mass.
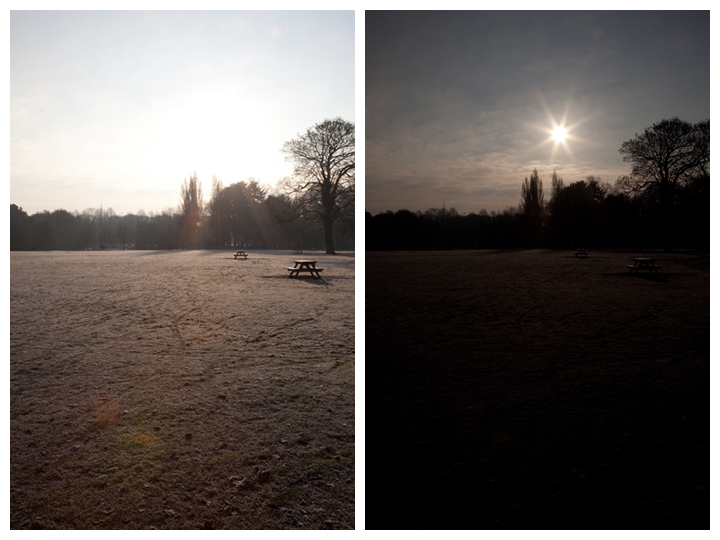
So what do you think? worth giving it a go? have a play with your metering and let me know how you get on.
#silentsunday
Composition #dadarazzi #photography101
This week instead of covering another technical aspect of your camera I though i would focus on a more artistic look at how we can make our pictures look desirable to the human eye.
Just before i start actually though, thanks so much for all your lovely feedback about these posts. The biggest thrill i get is that people say they are going to go and have a go with their camera. That is my aim. Not to come across as a big know it all camera person. Because I am so not. But just to encourage parents to get out there and capture life as it happens in their families. Like the Fool did last week, experimenting with shutter. This week im re-naming my mamarazzi as dadrazzi in his honour 🙂
Anyway..so this week its all about composition. What is it that makes you look at an image and go WOW.
As photographer we can control what the viewer sees in our image. That can be by using things like shutter/aperture and manipulating the light..but also how we present the image is important. Where is the eye drawn to in an image? How is it all coming together.
Here are a few basic ‘rules’ you can follow.
Leading Lines
This principle is based on leading your viewers eye to what you want them to focus on by the use of lines in an image. They don’t need to be straight, just needs to be something that ‘lures’ the eye to the object of interest.
Here are some examples..
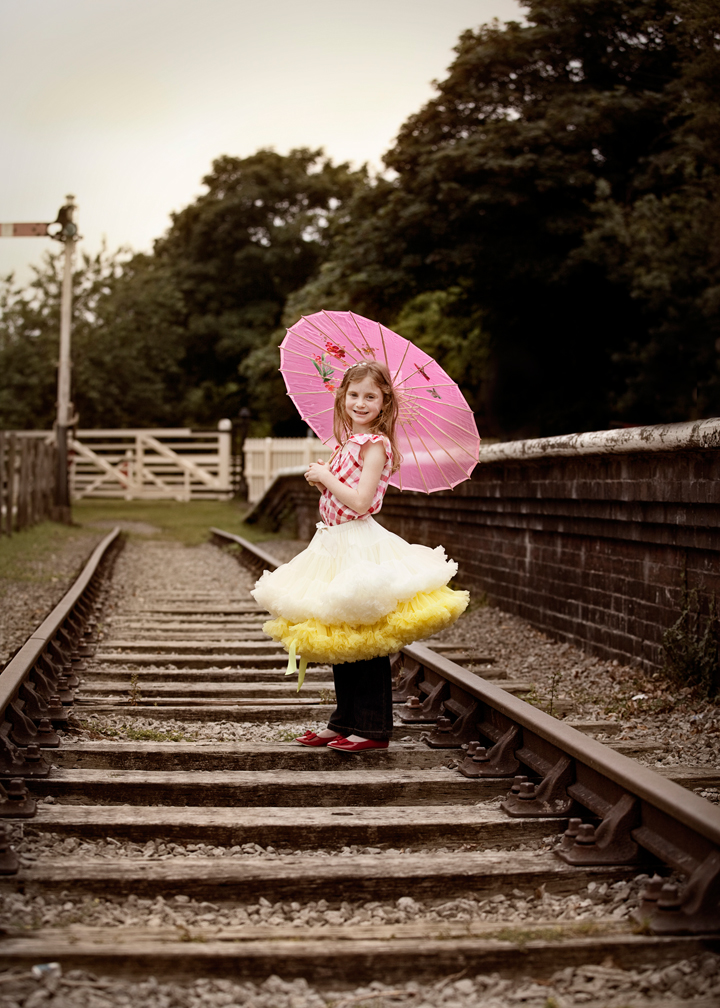
you can use so many different things as leading lines..here are some train tracks…
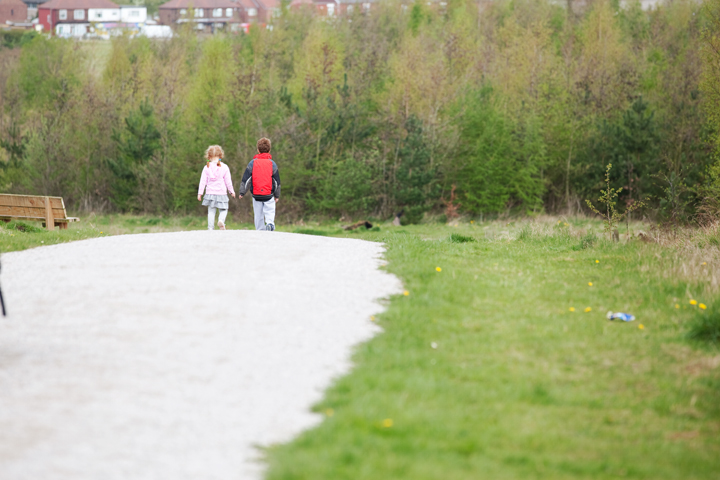 or something simple like a path

doesnt have to be just for kids either..you can use leading lines for anything you want to draw attention to.

fences are really good for leading lines, especially for portraits. get your subject to lean in to wall and then you do the same and shoot 😉

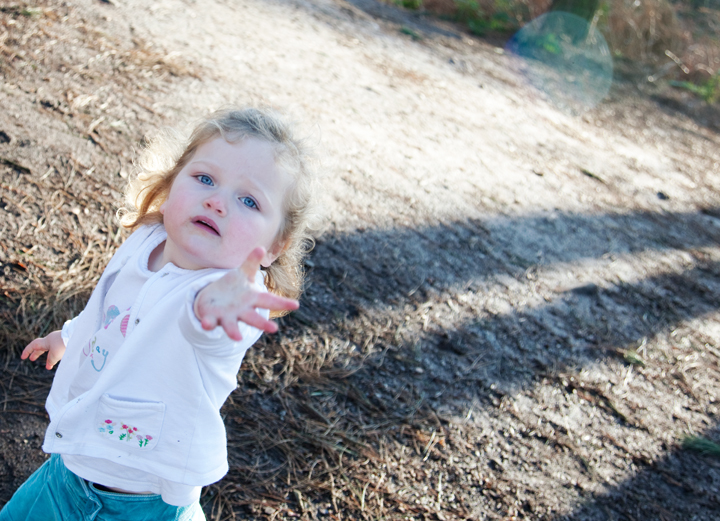
can even be something like a shadow
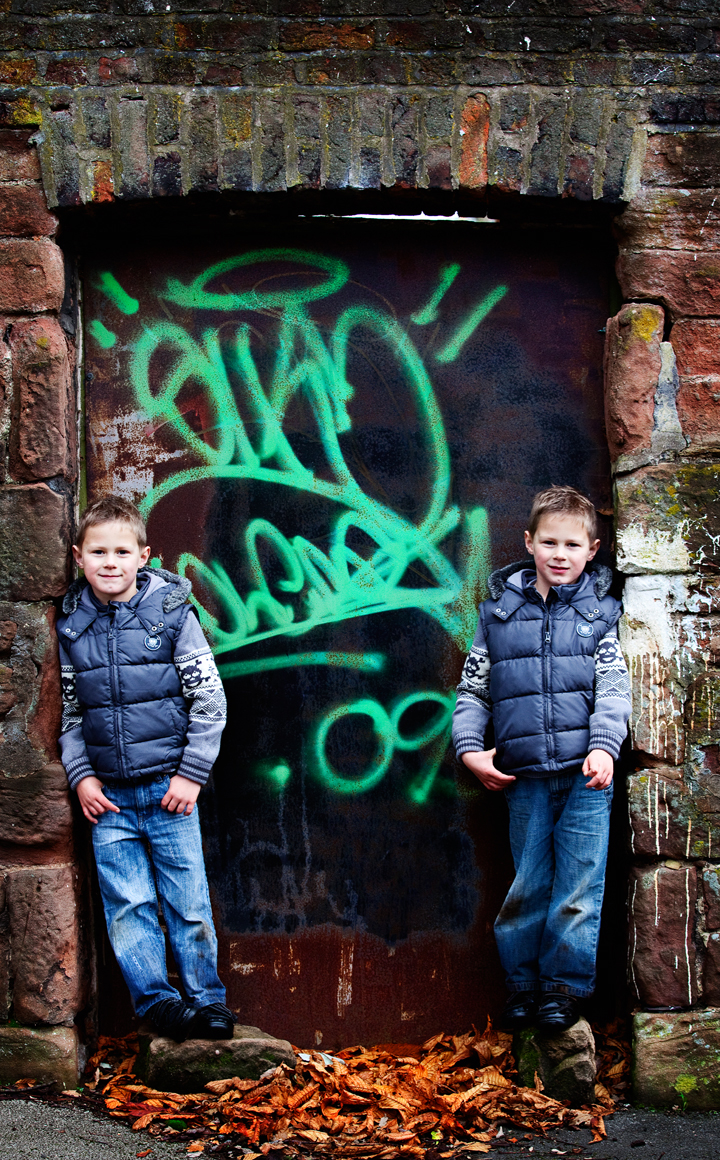
Frame it up
Im not talking about putting your picture in a frame on your mantel. Although we ALL probably need to do more of that and give our crippled hard drives a break from storing all those images that never get seen! But no what im talking about is using an element in your scence to provide a natural border that draws attention where you want it. You can use anything from the outline of a door or window to a row of trees of cluster of bushes. Basically anything that surrounds your subject will pack a punch.


Look for negative
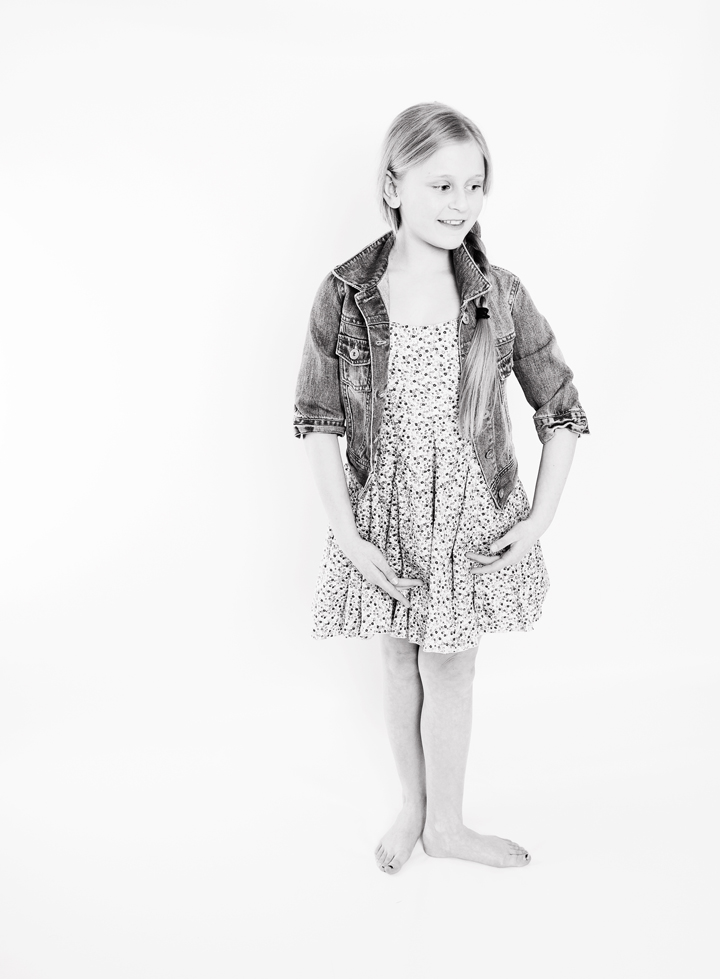
Not as in, think negatively, but as in think about the power of negative space in your image…nothingness. It really can pack a huge punch. It means an area of your image that has no visual content in it. Intentionally leaving some empty space around your subject can make a huge impact. Works well when following the rule of thirds…




and lastly – for now…
Get off Kilter
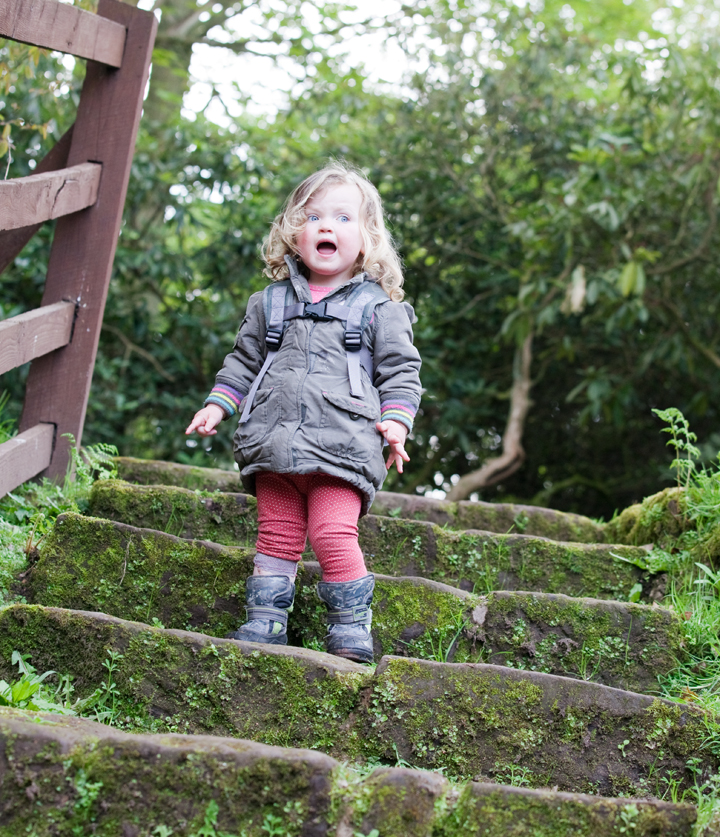
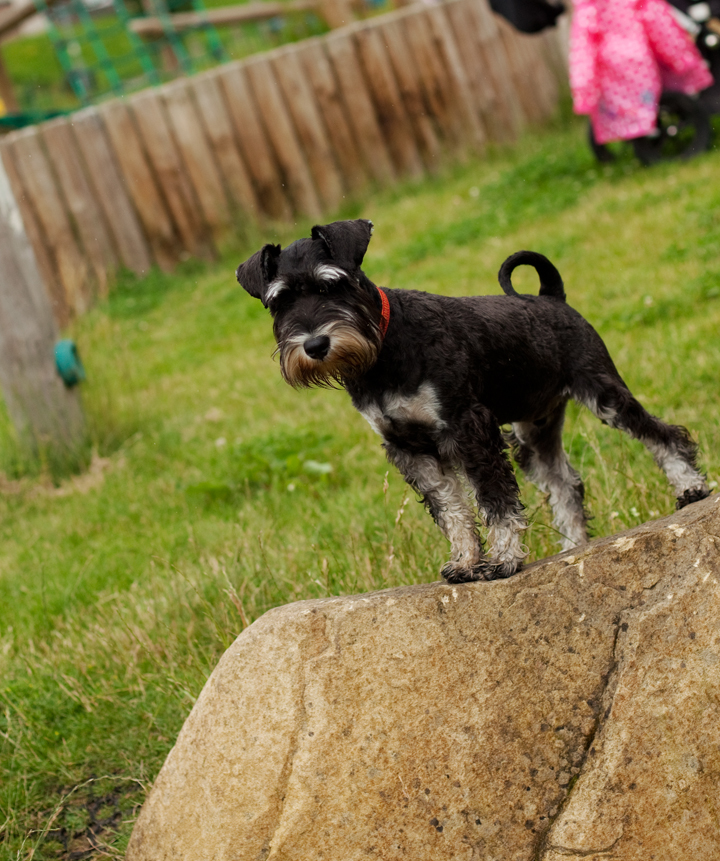
So you think that you always have to have your subjects standing up straight and all your horizons level. Well sometimes its good to mix it up a bit and shoot on an angle. A tilted photo can add visual interest to your scene. The thing is to make your slant obviously intentional and not so awkward that your subject seems to be sliding out of the frame. Similarly, incorporating diagonal lines to your photo can aid the eye in moving across the image, giving your image energy.
Here are some examples..



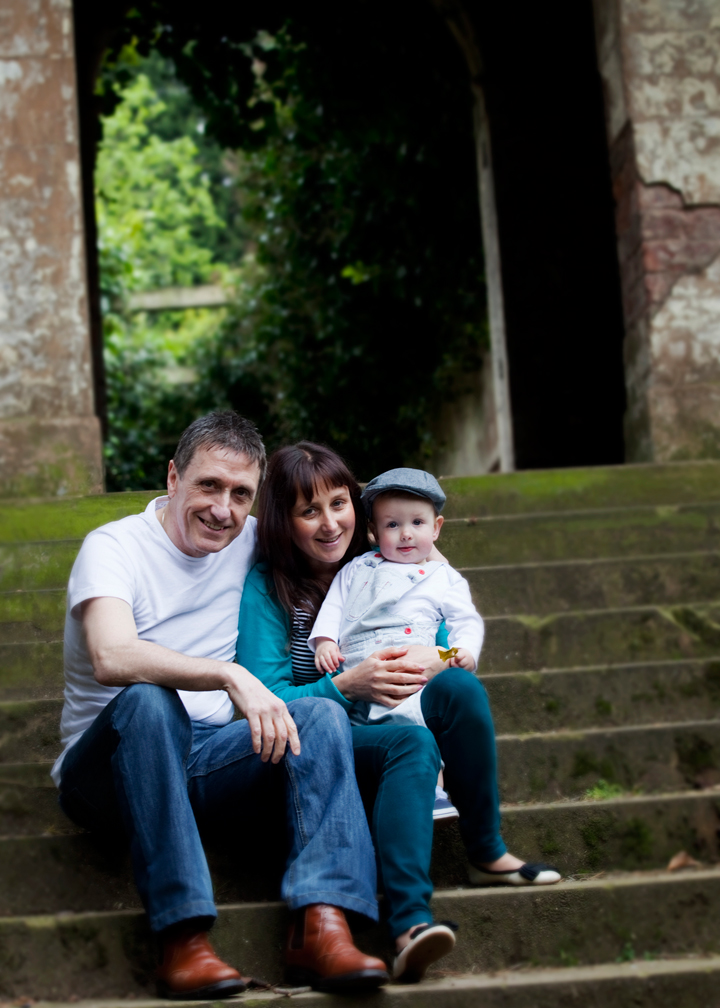
So there are a few pointers, see what you think and if you fancy giving it a go, do let me know how you get on.
The mobility of sleep #motivationalmonday #themondayclub
We have, in our family, five little people. That may be somewhat obvious by the the title of my blog. 😉
So it stands to reason that we have had five newborns, had to go through many many months of dodgy sleep patterns, some no sleep patterns and who the heck cares i just want to lie down sleep patterns.
We went for the pic’n mix approach to sleep. Broadly that meant going with whatever works, results in the greatest amount of sleep and once there was more than one little person in the house, resulted in the fewest amount of awakees. Over the years we have probably dabbled in all the various ‘theories’ but ultimately it comes back to…a default. Go with what gives us the most sleep. Whether thats having a newborn like the princess and the pea inbetween us on our bed or having a 10 year old who has had a bad dream sleep top to toe with us for the night. It all just works out.
I know there are people who get s-t-r-u-n-g out by the thought of a disruptive night, we are a bit different, well i am anyway. Our four year old has been coming into our bed for about 18 months now, every night, without fail. Got to the point when I was almost saying ‘well done’ to her when she managed to get into our bed without waking anyone up!! I never thought i would be one of those people who could sleep inter-linked with someone else. But its amazing what you adapt to 😉
She has pretty much stopped doing it now, i knew she would eventually. There has been points recently where i have had moments where i kind of miss it just a little bit. Maybe a sign that they are growing up and cuddles in bed are becoming far too babyish. *sniff*
I think over the years i have grown less fond of sleep. I find it a bit of a drag. Like there is something else i could be doing…don’t get me wrong those few minutes before you get up are agony, clinging to the mist of dreams, beaten by forthcoming consciousness normally with the help of a baby shaped alarm clock. But there are times when although really i know that i should be asleep that im busy doing something else, robbing my body of its down time as each extra hour of being ‘up’ without the kids means i can just get one.more.thing done.
In our house at least sleep patterns have been fluid..changing with the times, the ages of the kids and the stages they are at. The ultimate goal is everyone in their own bed for the entire night. When that does happen there is a little ‘holy grail’ feeling about it.
But when it doesn’t it isnt the end of the world either.

What about you, how mobile is your sleep?
On this beautiful bank holiday monday I have yet another beautiful box of sunshine from the awesomeness that is LUSH to giveaway. Please follow the instructions on the rafflecopter and don’t forget to check out my lovely friend Pinkoddy and co-host of motivational monday as she has some giveaways going on too.
The winner of the Lego dictionary is Sally Poole. Congratulations and please contact me to claim your prize!!
