the easter egg edition meets Mr. Darcy #CountryKids #NationalTrust
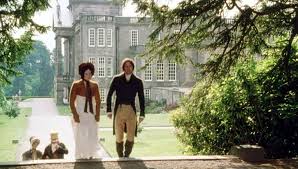
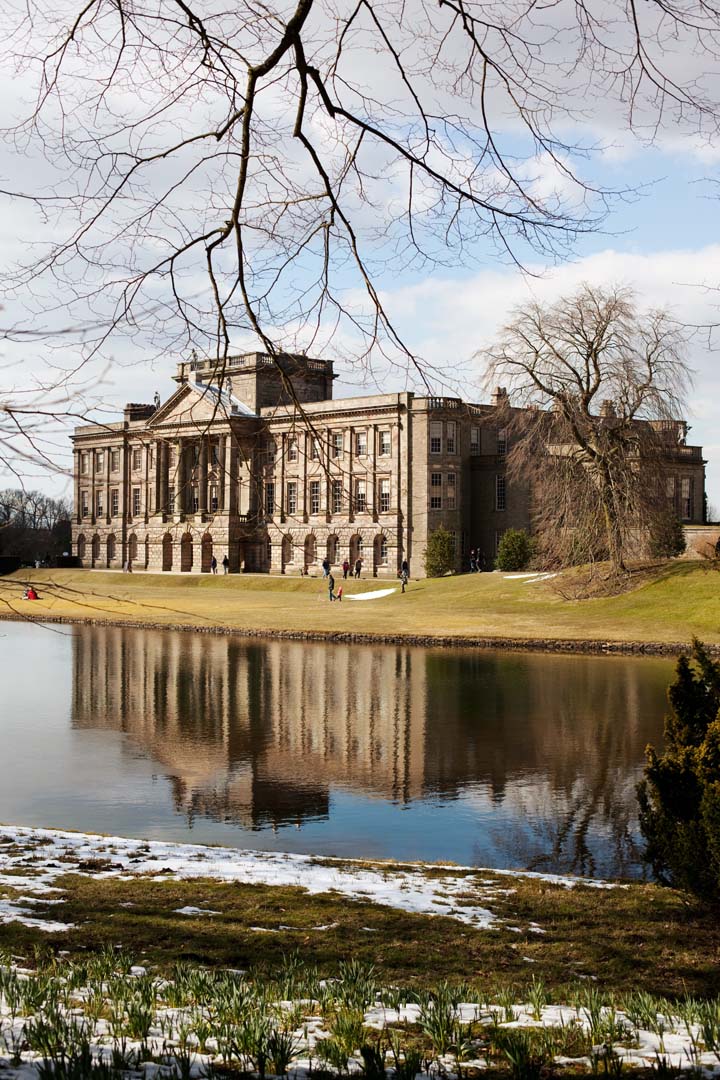
Easter Saturday we decided to go out and hunt for eggs! The National Trust and Cadbury have been running the great easter egg trail throughout Easter and so we decided to hit one of these at one of our local National Trust properties. We went to the beautiful Lyme Park which is where the BBC filmed a large part of their classic version of Pride and Prejudice with a certain Mr. Darcy *cough*
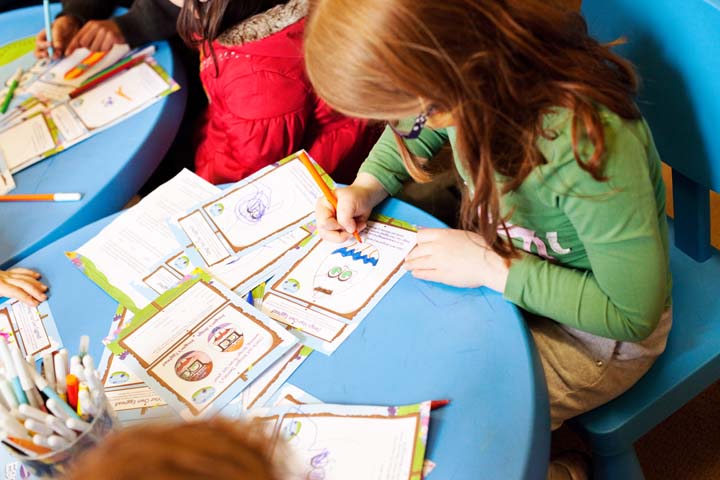
It is a really beautiful house and there is lots to do for the kids without adding the extra excitement of a easter egg hunt. We set off on our hunt, the kids answering questions and running round to count things, look for flowers, get faces painted and draw their own version of easter egg heads!
We walked around the Lake, you know….that lake…from that scene *fans face* 😉
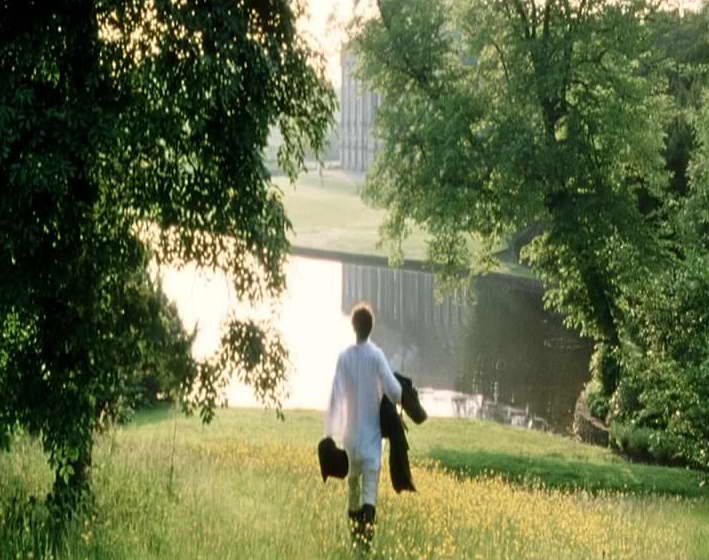
Im pretty sure just a few 100 yards down from him was the path on which we walked round the lake *sigh*
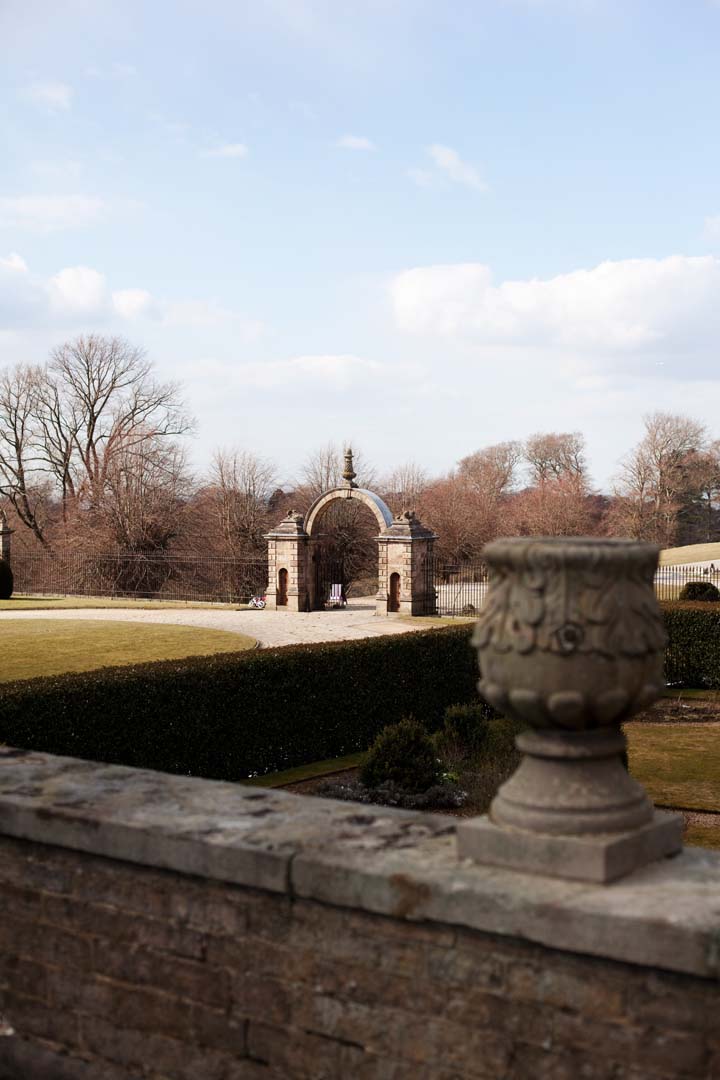
It has such beautiful gardens, we are planning on coming back in the summer so that we can see the benefit of the gardens without the snow!
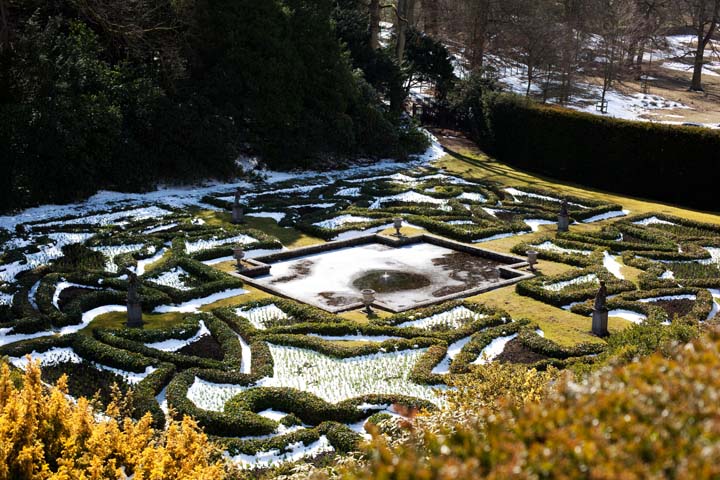
heading off round the lake
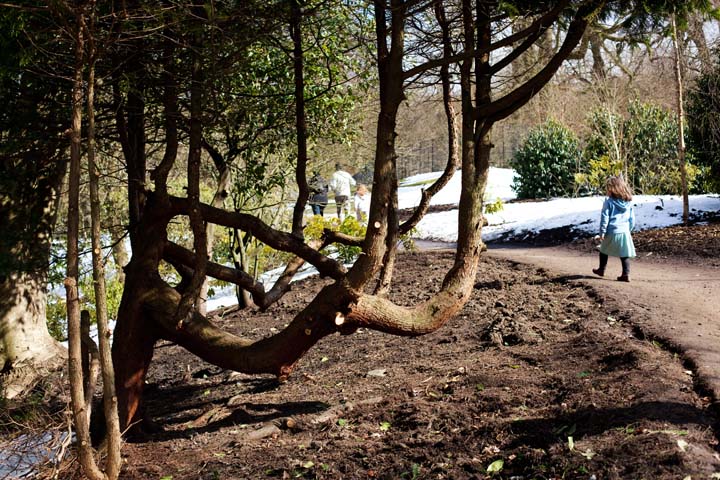
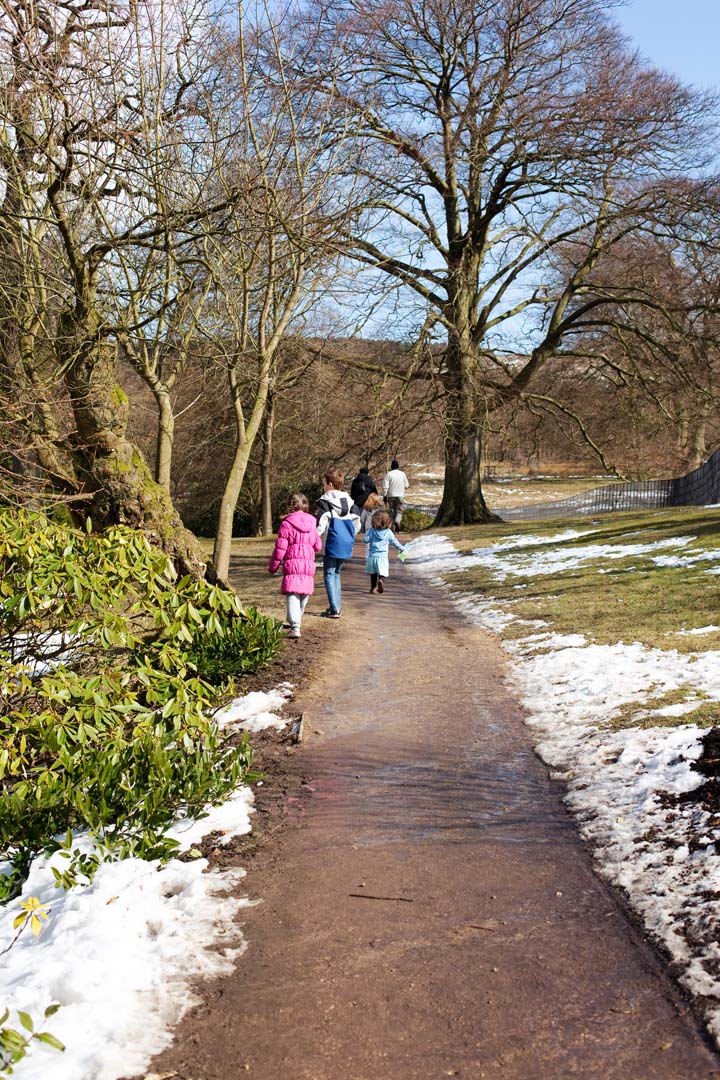
think this was the point that *he* threw himself in the water! 😉 the beautiful house
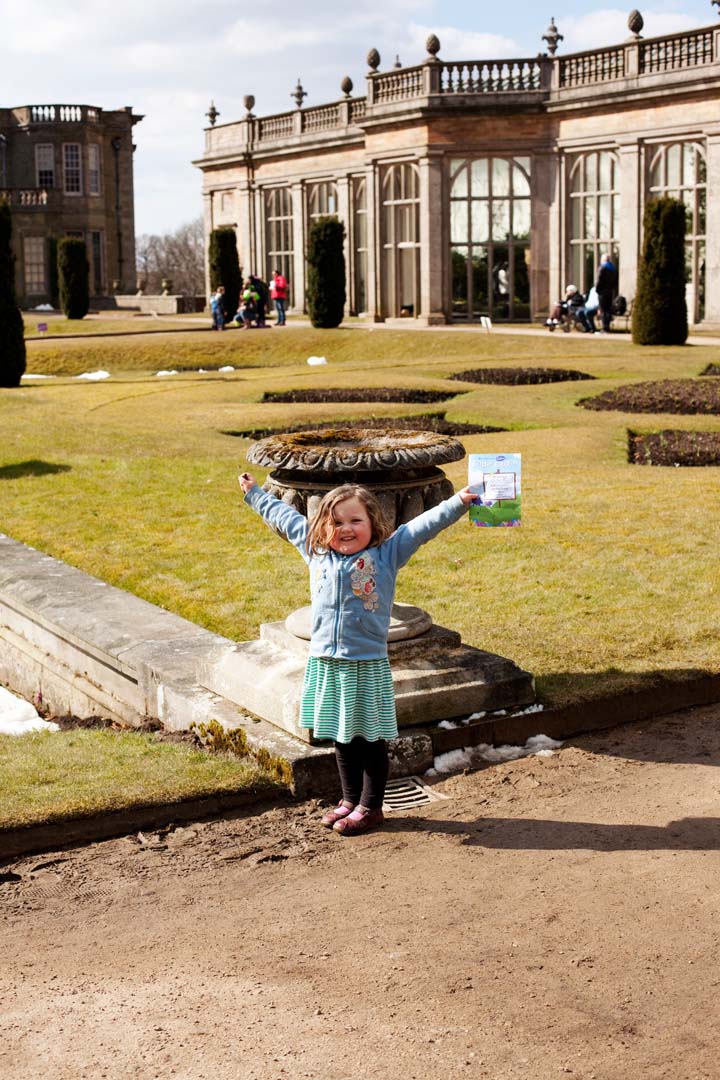
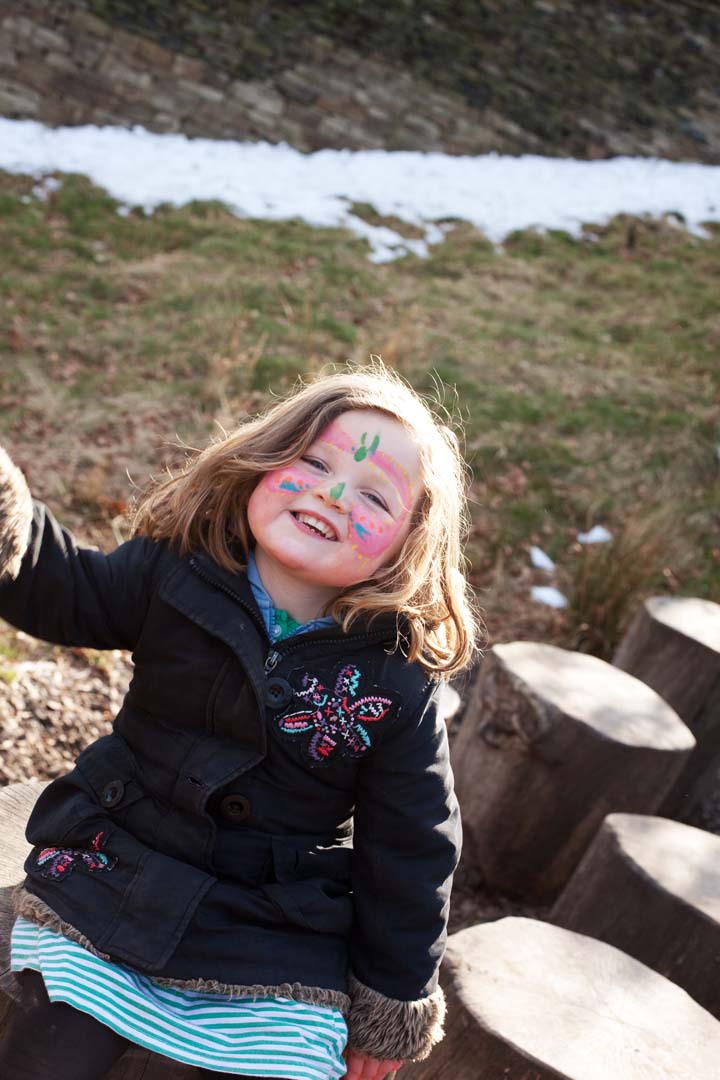
one happy hunter outside the orangery

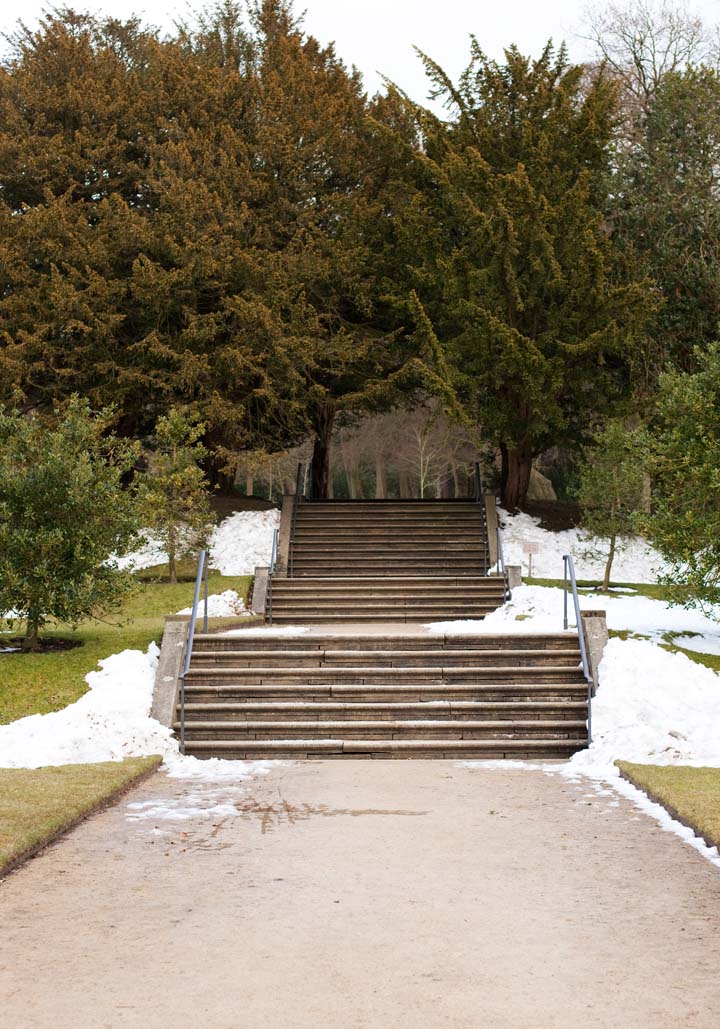
This is the staircase that they were walking up in the first picture just the other way round….
After the house and gardens we headed over to the woodland play area. Which is massive with a big rope walk, slides and tunnels to crawl through. We finished it off with a little stroll through a woodland where one of my daughters discovered that putting your foot in the space between a flooded cattle grid is not a good idea! 😉
whats that about white balance? #mamarazzi #photography101
I went for a super 4oth birthday lunch a few weeks ago and I had a conversation with a friend about cameras, her camera in particular and she was saying how she was really frustrated with her pictures that she was taking when she was indoors. We talked around what settings she was using and what lens, then i said
‘have you tried changing your white balance?’ – and then a little lightbulb may have just gone on.
Its a very very simple thing and yet it can be so effective in changing the look of your image.
What is white balance?
It all boils down to the concept of colour temperature. Color temperature is a way of measuring the quality of a light source.
The unit for measuring this ratio is in degree Kelvin (K). A light with higher color temperature (i.e., larger Kelvin value) has “more” blue lights than a light with lower color temperature (i.e., smaller Kelvin value). Thus, a cooler (resp., warmer) light has a higher (resp., lower) color temperature. But we don’t need to get too in depth do we!!
This is a few screenshots of how you can change your white balance…
nikon display
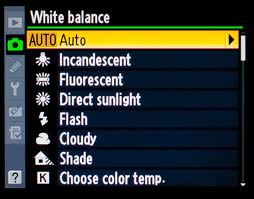
Canon display
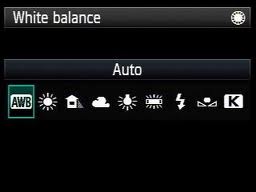
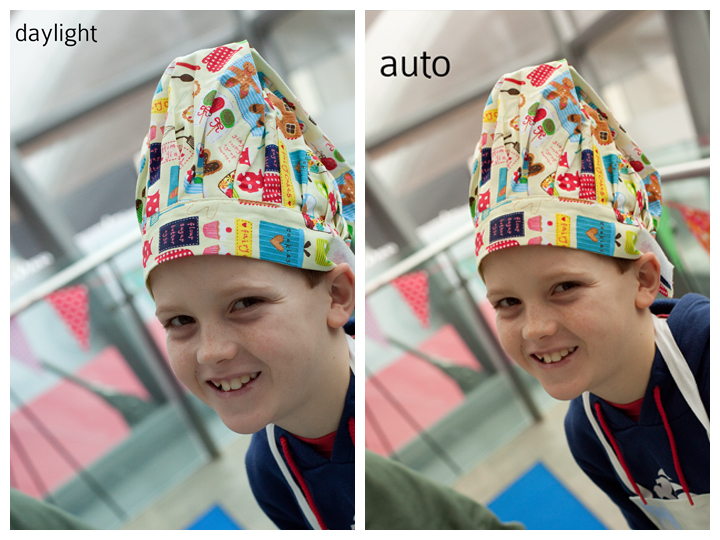
The symbols you can see are fairly self explanatory, shade, the little lightbulb for inside, sunshine etc etc. Its fairly easy to follow. You dont always need to swop the white balance though. Sometimes the auto white balance does a great job and others you might just want to have a play and see if it makes a difference to your shot. Here is an example of the same shot, in different white balance modes.
these two subtle difference between daylight and auto. The daylight setting adds more creamy, golden colours…
the other thing to remember is what WB works in what environment.
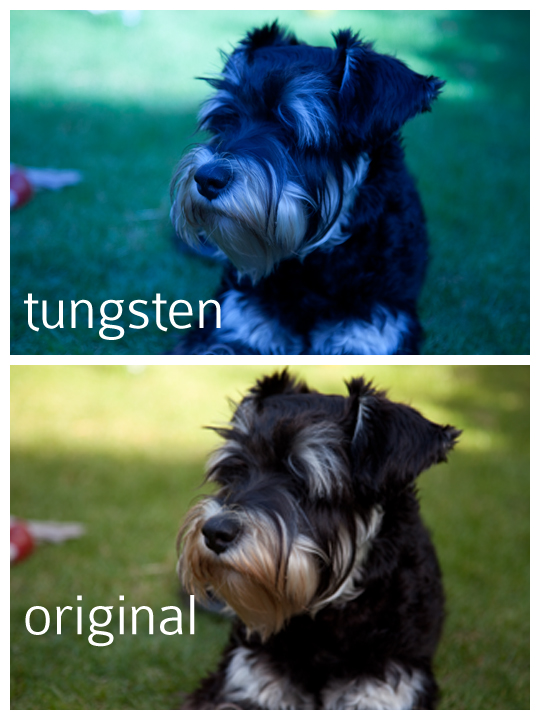
For example if you are in a really creamy, orangey environment like a pub or a restaurant with lots of artifical lighting then tungsten might be a good white balance to use.
But if you are outside, be careful as it will turn everything blue!! you can see here i have changed the WB to tungsten (thats the little bulb) on the top picture, it looks cold and not at all right.
But inside it can get rid of some of those really orange and yellow tones that can come from house lighting and also from large bits of dark wood that reflect the light coming into a room onto anything that you are shooting. Especially if you are struggling with getting the pictures to look half decent indoors sometimes adjusting the white balance might just help. T
These shots of the cakes, i changed the WB (you can do it in a post processing software like photoshop if you shoot in RAW) and i it has taken some of the creamy gold out of the shots,which is more true to the actual cake.

Of course you can always set your own white balance and that would be a custom white balance.
You can do this by telling your camera what white is. This is easy and don’t be put off by fancy white balance gizmos. All you need is a bit of white paper. Hold it in front of your camera and correctly expose for the shot, keeping your white bit of paper in the centre. Like this.. The little grid at the bottom of the screen with the +1/+2 on it your little marker needs to be in the middle.

then go to the custom white balance but of your menu and press set and it will probably ask you if you want it to use the data from this image for white balance, say YES!

It can make a real difference! look at these two!

Very important thing to remember is that if you are using custom white balance you have to re-set every time your lighting changes, make sense?
Go on, go and have a play with white balance and make sure you have stab at custom white balance and let me know how you get on!
#silentsunday
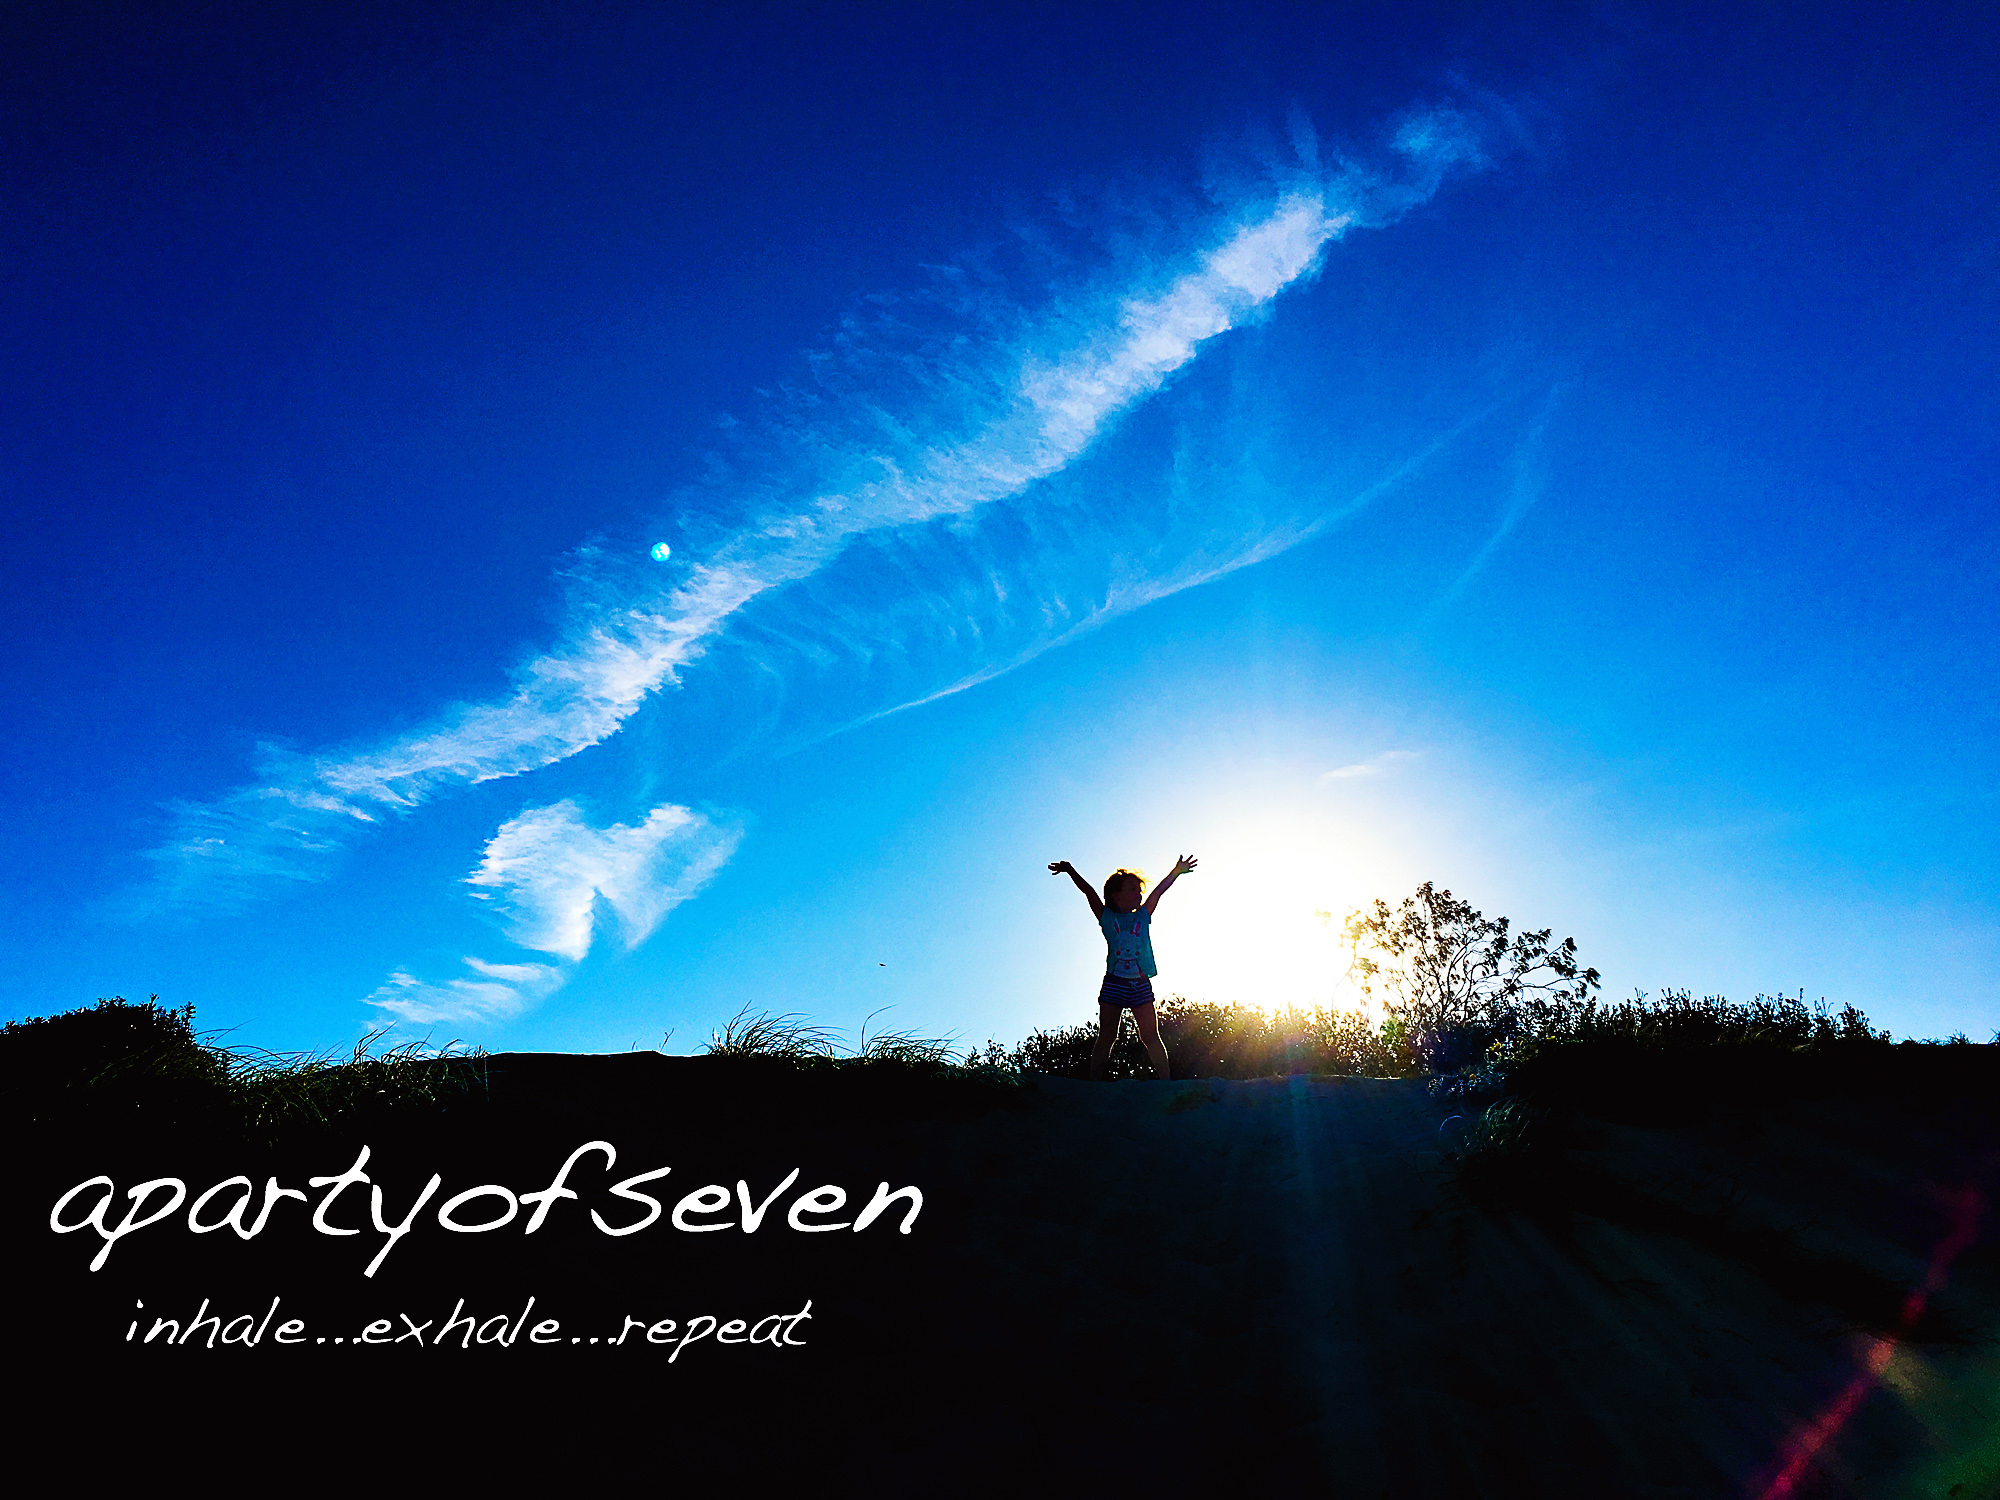
The trick to backlighting your subject.
Is that an angel before me?
or is it just some very clever back lighting?
I was musing on this, this evening. Possibly because there is still snow on the ground here…*eye roll* and i so often associate this sort of light with those lovely warm evenings in the summer. *sigh*
I miss the sun…
Anyway I really love this sort of light but it can turn out really really naff. It is a really beautiful but it can be difficult to use.
Ever managed it? Taken a shot of your kid with their back to the sun and their hair lights up like a halo? Its lovely right? ah the beauty of backlighting.
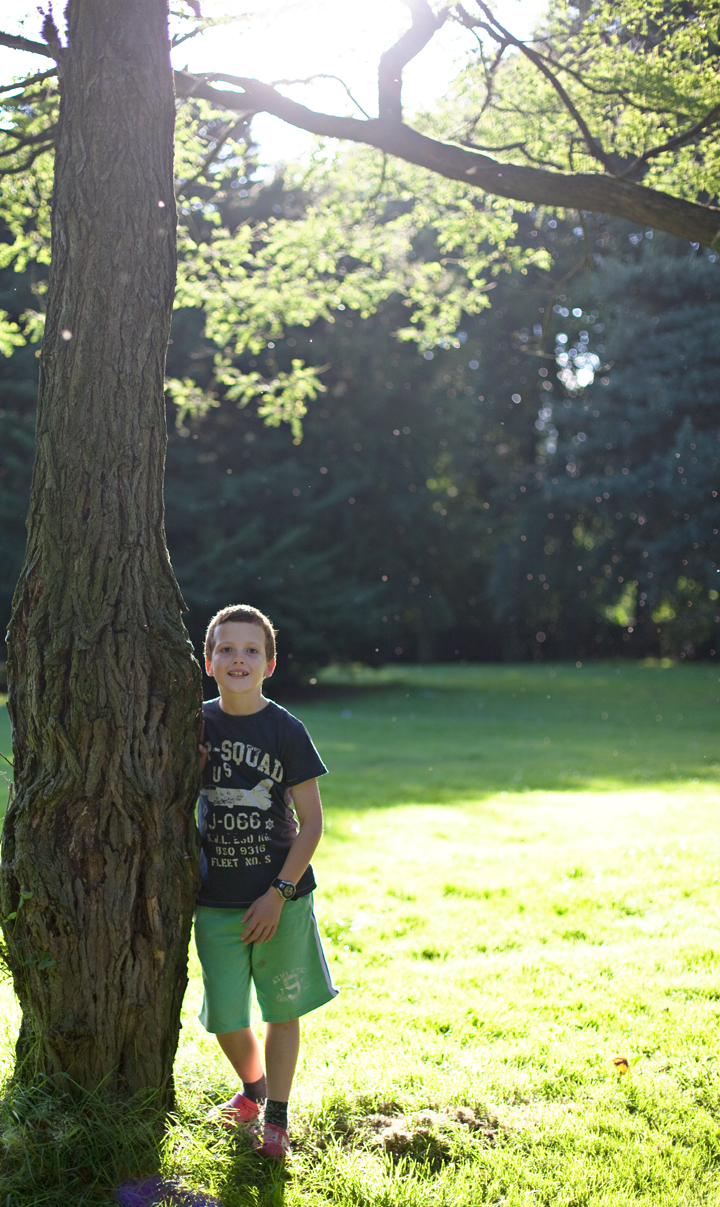
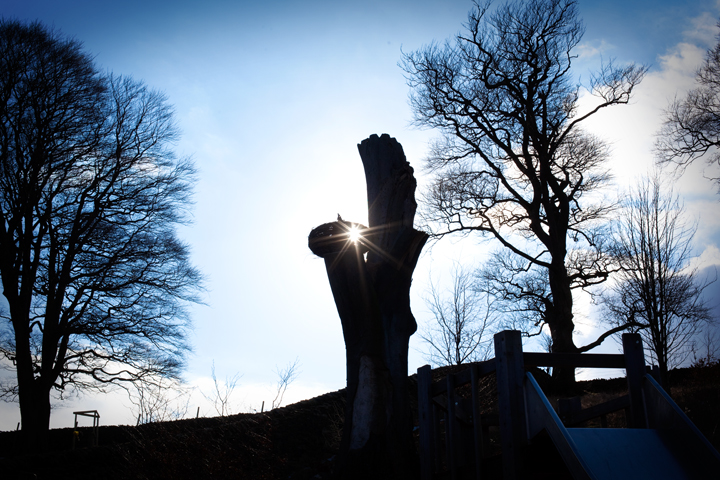
and it doesn’t need to be on kids or people!….
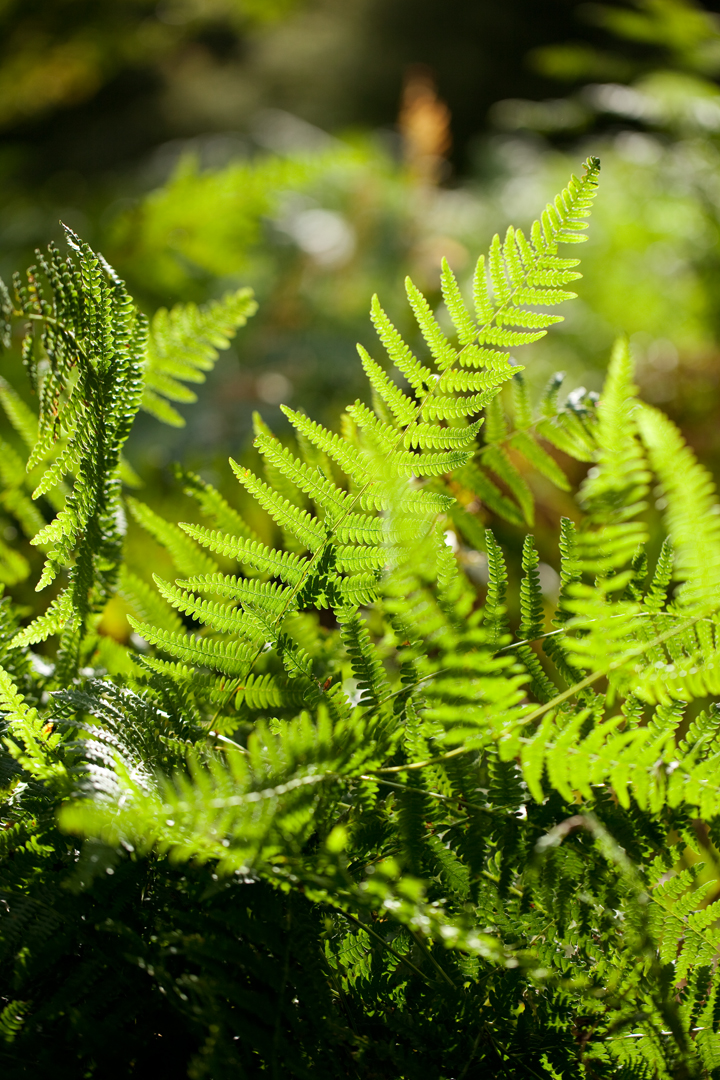
But you have to be careful. Shooting into the sun can throw your camera a curve ball from the point of view of what it ‘sees’ as the light and you camera is likely to meter for the sun and then you subject is going to be dark..really dark.
So here are a few tips for getting that sweet backlighting.
1. Try to shoot either early morning or later afternoon/evening. This is why i love the summer evenings as you can be out in the warm in the gorgeous golden light.
2. When shooting try and meter from your subject. On a dslr you could try spot metering, so that you are telling the camera the exact spot you want it to meter for the light and not asking it to take a broad reading of the light. You may still end up with your subject having a dark face. In this situation you might want to bring a reflector into the face of your subject and you don’t need anything posh to do that you can use a bit of white card or paper. You just need to reflect some light into the face to brighten it up a bit. You can use your exposure compensation also to make sure that you are not going to end up with a dark subject.
3. If possible try and have a darker background behind your subject, as you can see in the first shot, my son is in front of a darker, green backdrop of a local park. He is therefore separated by the sun on his head from the background. If the background was white then there would be no difference between his head and the background if that makes sense.
4 . You may end up with a bit of your background blown out a bit…with this sort of lighting though it is actually quite nice and like the point before as long as you are not loosing your subject into the background, this is a particular thing to take care with fair haired kids.
5.If you don’t want sun flare in the image put your subject in front of something that blocks it off, you will still get the lovely glow of the sun in the image.
So when we next actually get some sun. Fancy going out an giving it a try?
